


|
Adventures in Lego: the UCS Millennium Falcon (75192) – post 2 - bags 3-5 |
||||||||
The first article was opening the box, looking through the manual and steps 1 and 2. This article will cover 3,4 and 5. Also some minor back tracking due to my inability to count spaces properly!
If you aren't familiar with the UCS Falcon, here's a link to the Lego site: https://www.lego.com/en-gb/product/millennium-falcon-75192
This is a really fun build, and its well-structured, but it is 7500 pieces so it's a sizeable task. It is taking a long time to step through each of these steps, somewhere around 2-3 hours per group of bags. I am not in a hurry and it's a nice way to decompress in the evenings. Each of these stages typically focuses on a specific area, so I'll call those out as well, so you can see how the overall model is coming together, as its not always in what you might consider the most logical manner.
So, we're up to around a total build time of around 12 hours now. What have we got for our time?
Bags 3 - First minifigures and a couple of interior rooms
Opening up bags marked as '3' we've got our first minifigures. Chewbacca, C-3P0 and a couple of Porgs. They are a fun little build, but they quickly make way for the real stuff here.After a few bags of Technics were into interior rooms. The first two front areas are built out here, one is quite plain, but the other is the classic room from the films, where Luke practices against the droid and the chess set is, with the classic cream falcon sofas. There are also two slightly random gray areas further back, that sit on top of the structure. I can only guess that these come into play in later stages.
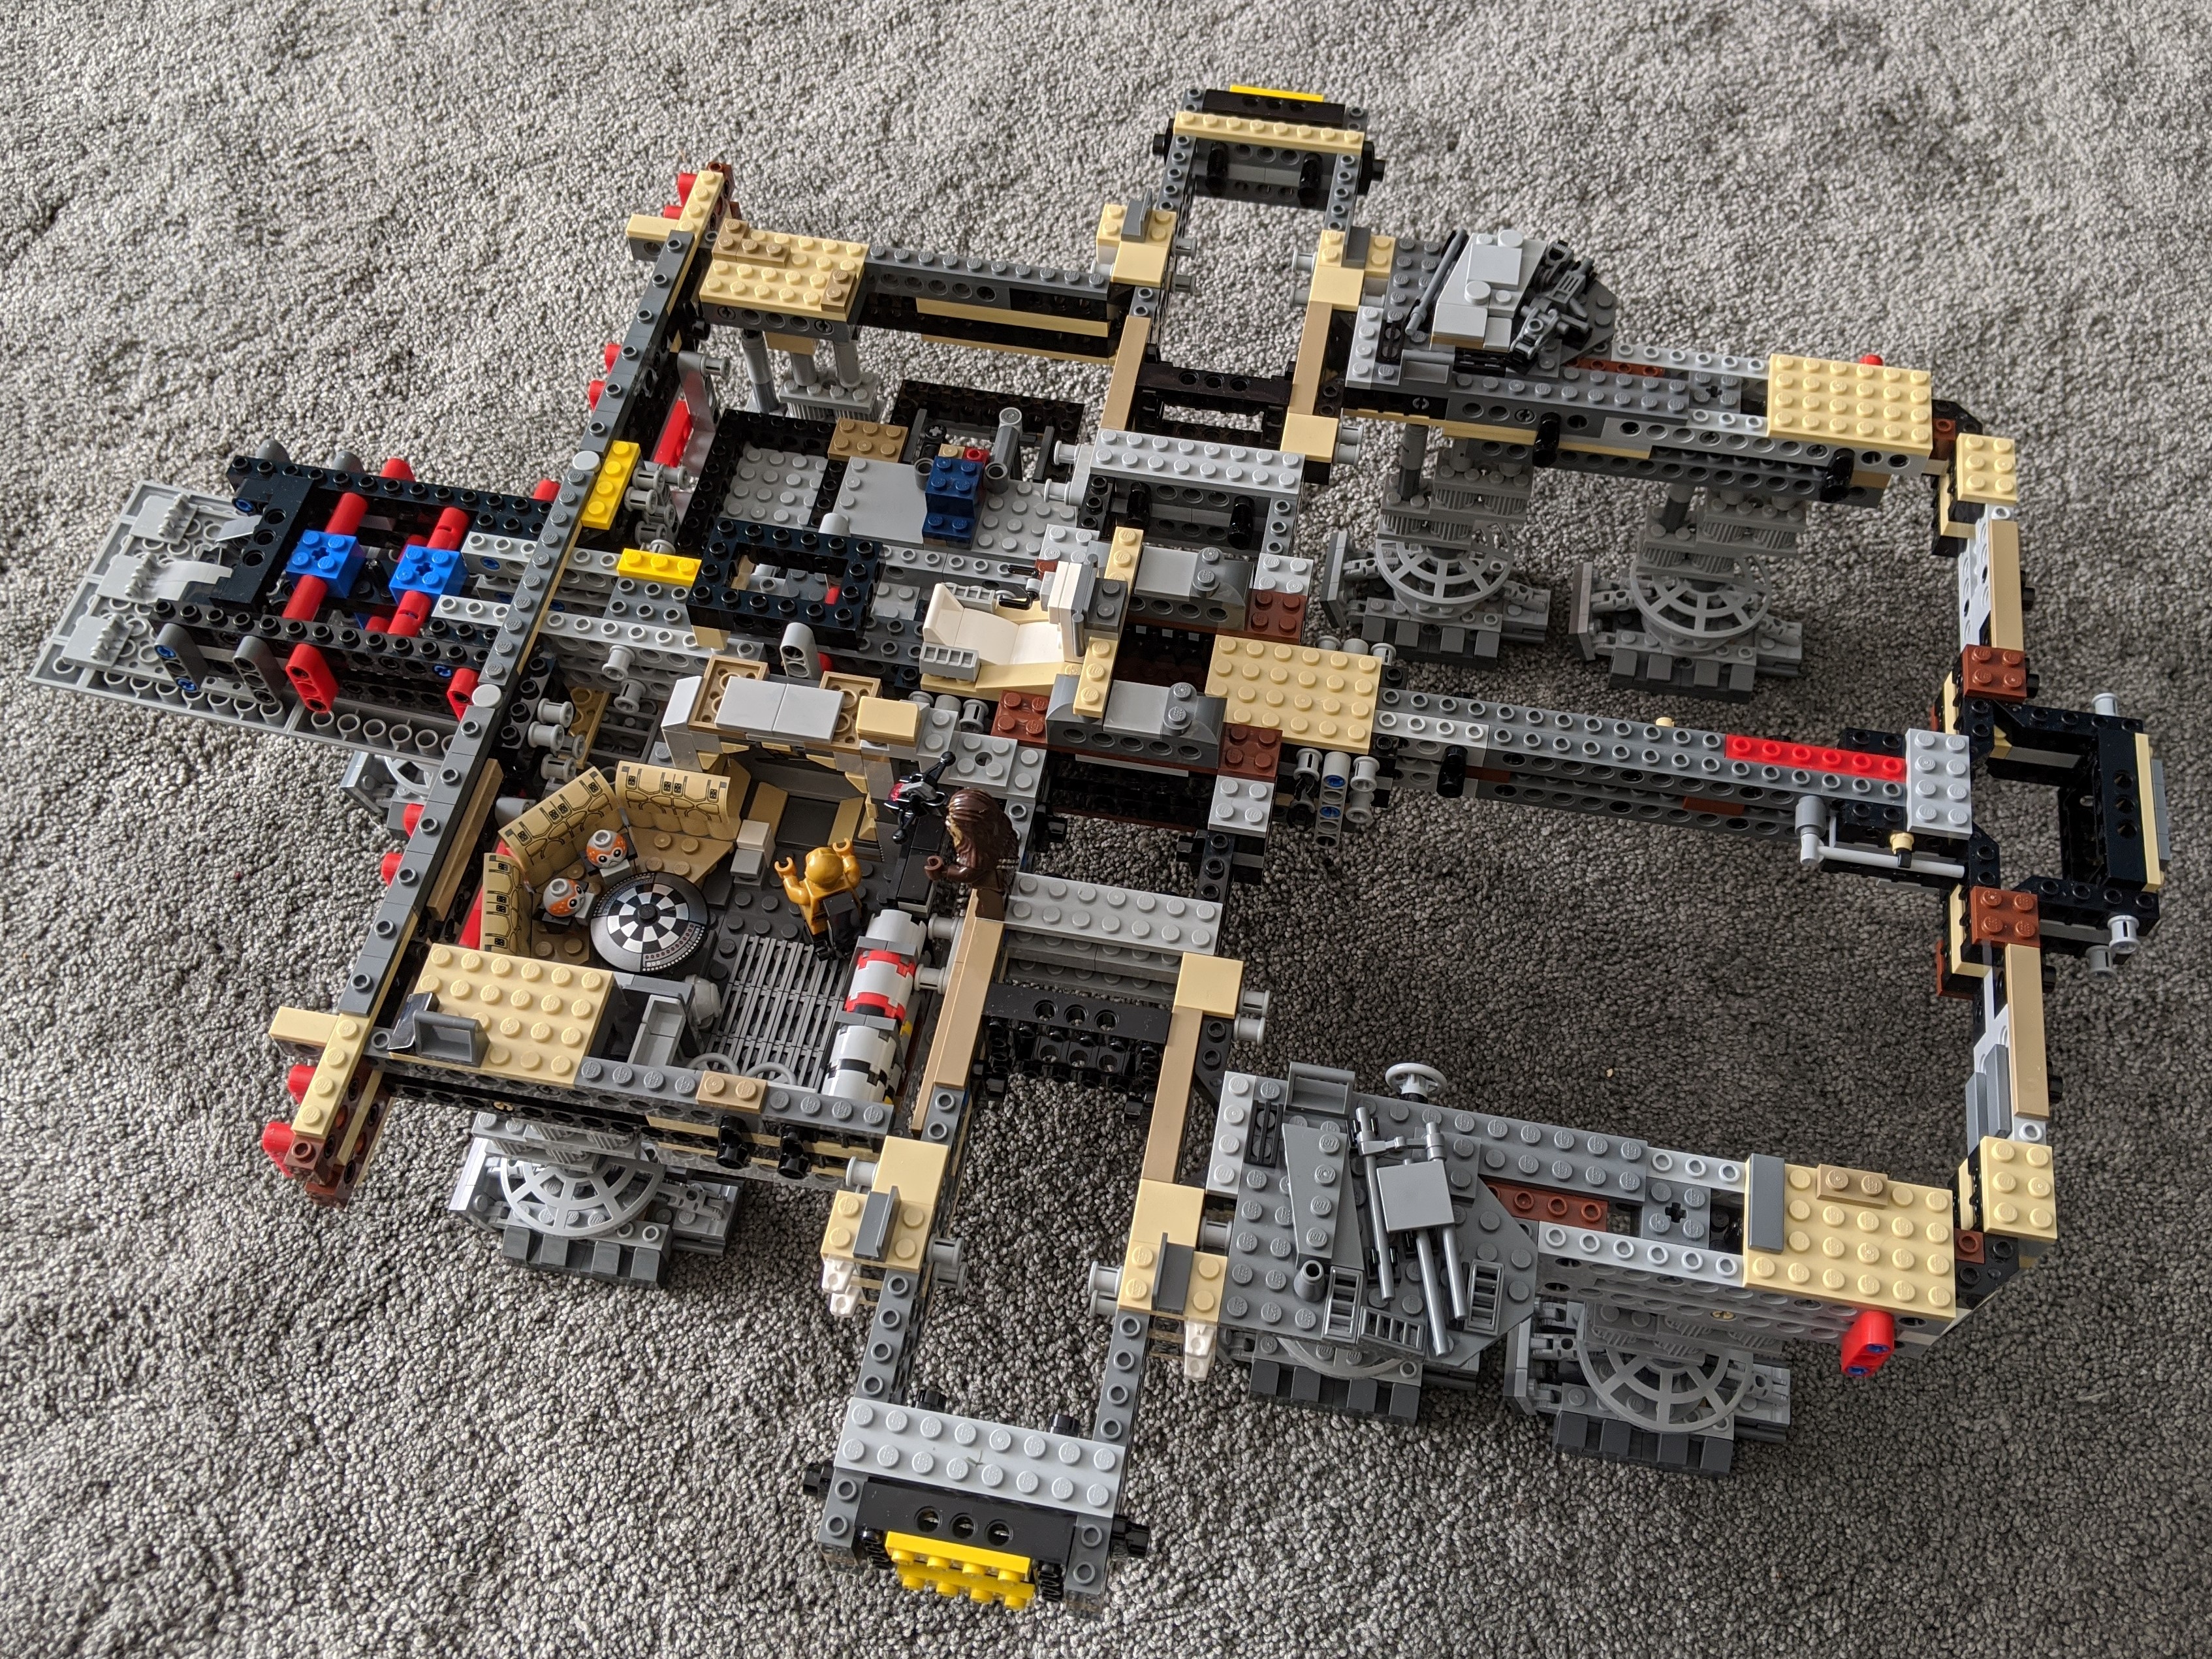
Bag 4 - Rear areas
This bag is a little on the dull side. Its two rear areas, with small embellishments on the front areas from the previous bag. This feels like more of a setup stage for further detail. Don't get me wrong, there is some detail here, but the rear 'rooms' are not as detailed as the front ones currently. This was a quick section but it also included two more minifigures, Han Solo and Leia. Both have unique faces, with a mask printing from the original Star wars movie, when they stopped in the asteroid / giant space worm.
Bag 5 - The rear engine and a section of undercarriage
This is where things really start to come together. The first part of this section is a short build out to put together the bottom section of the rear. At eye level, you cannot really see this, but it starts to give some good shape to the rear section, otherwise the current shape is very square.Next is where things really ramp up. The rear engine section is put together in 2 parts. Left and right sections, which you hang off the main frame. After this you add in the engine glow tubes, the long blue colour tubing, which really gives it a curved feel as it contours to the previous two sections. Suddenly you've got a rounded rear end!
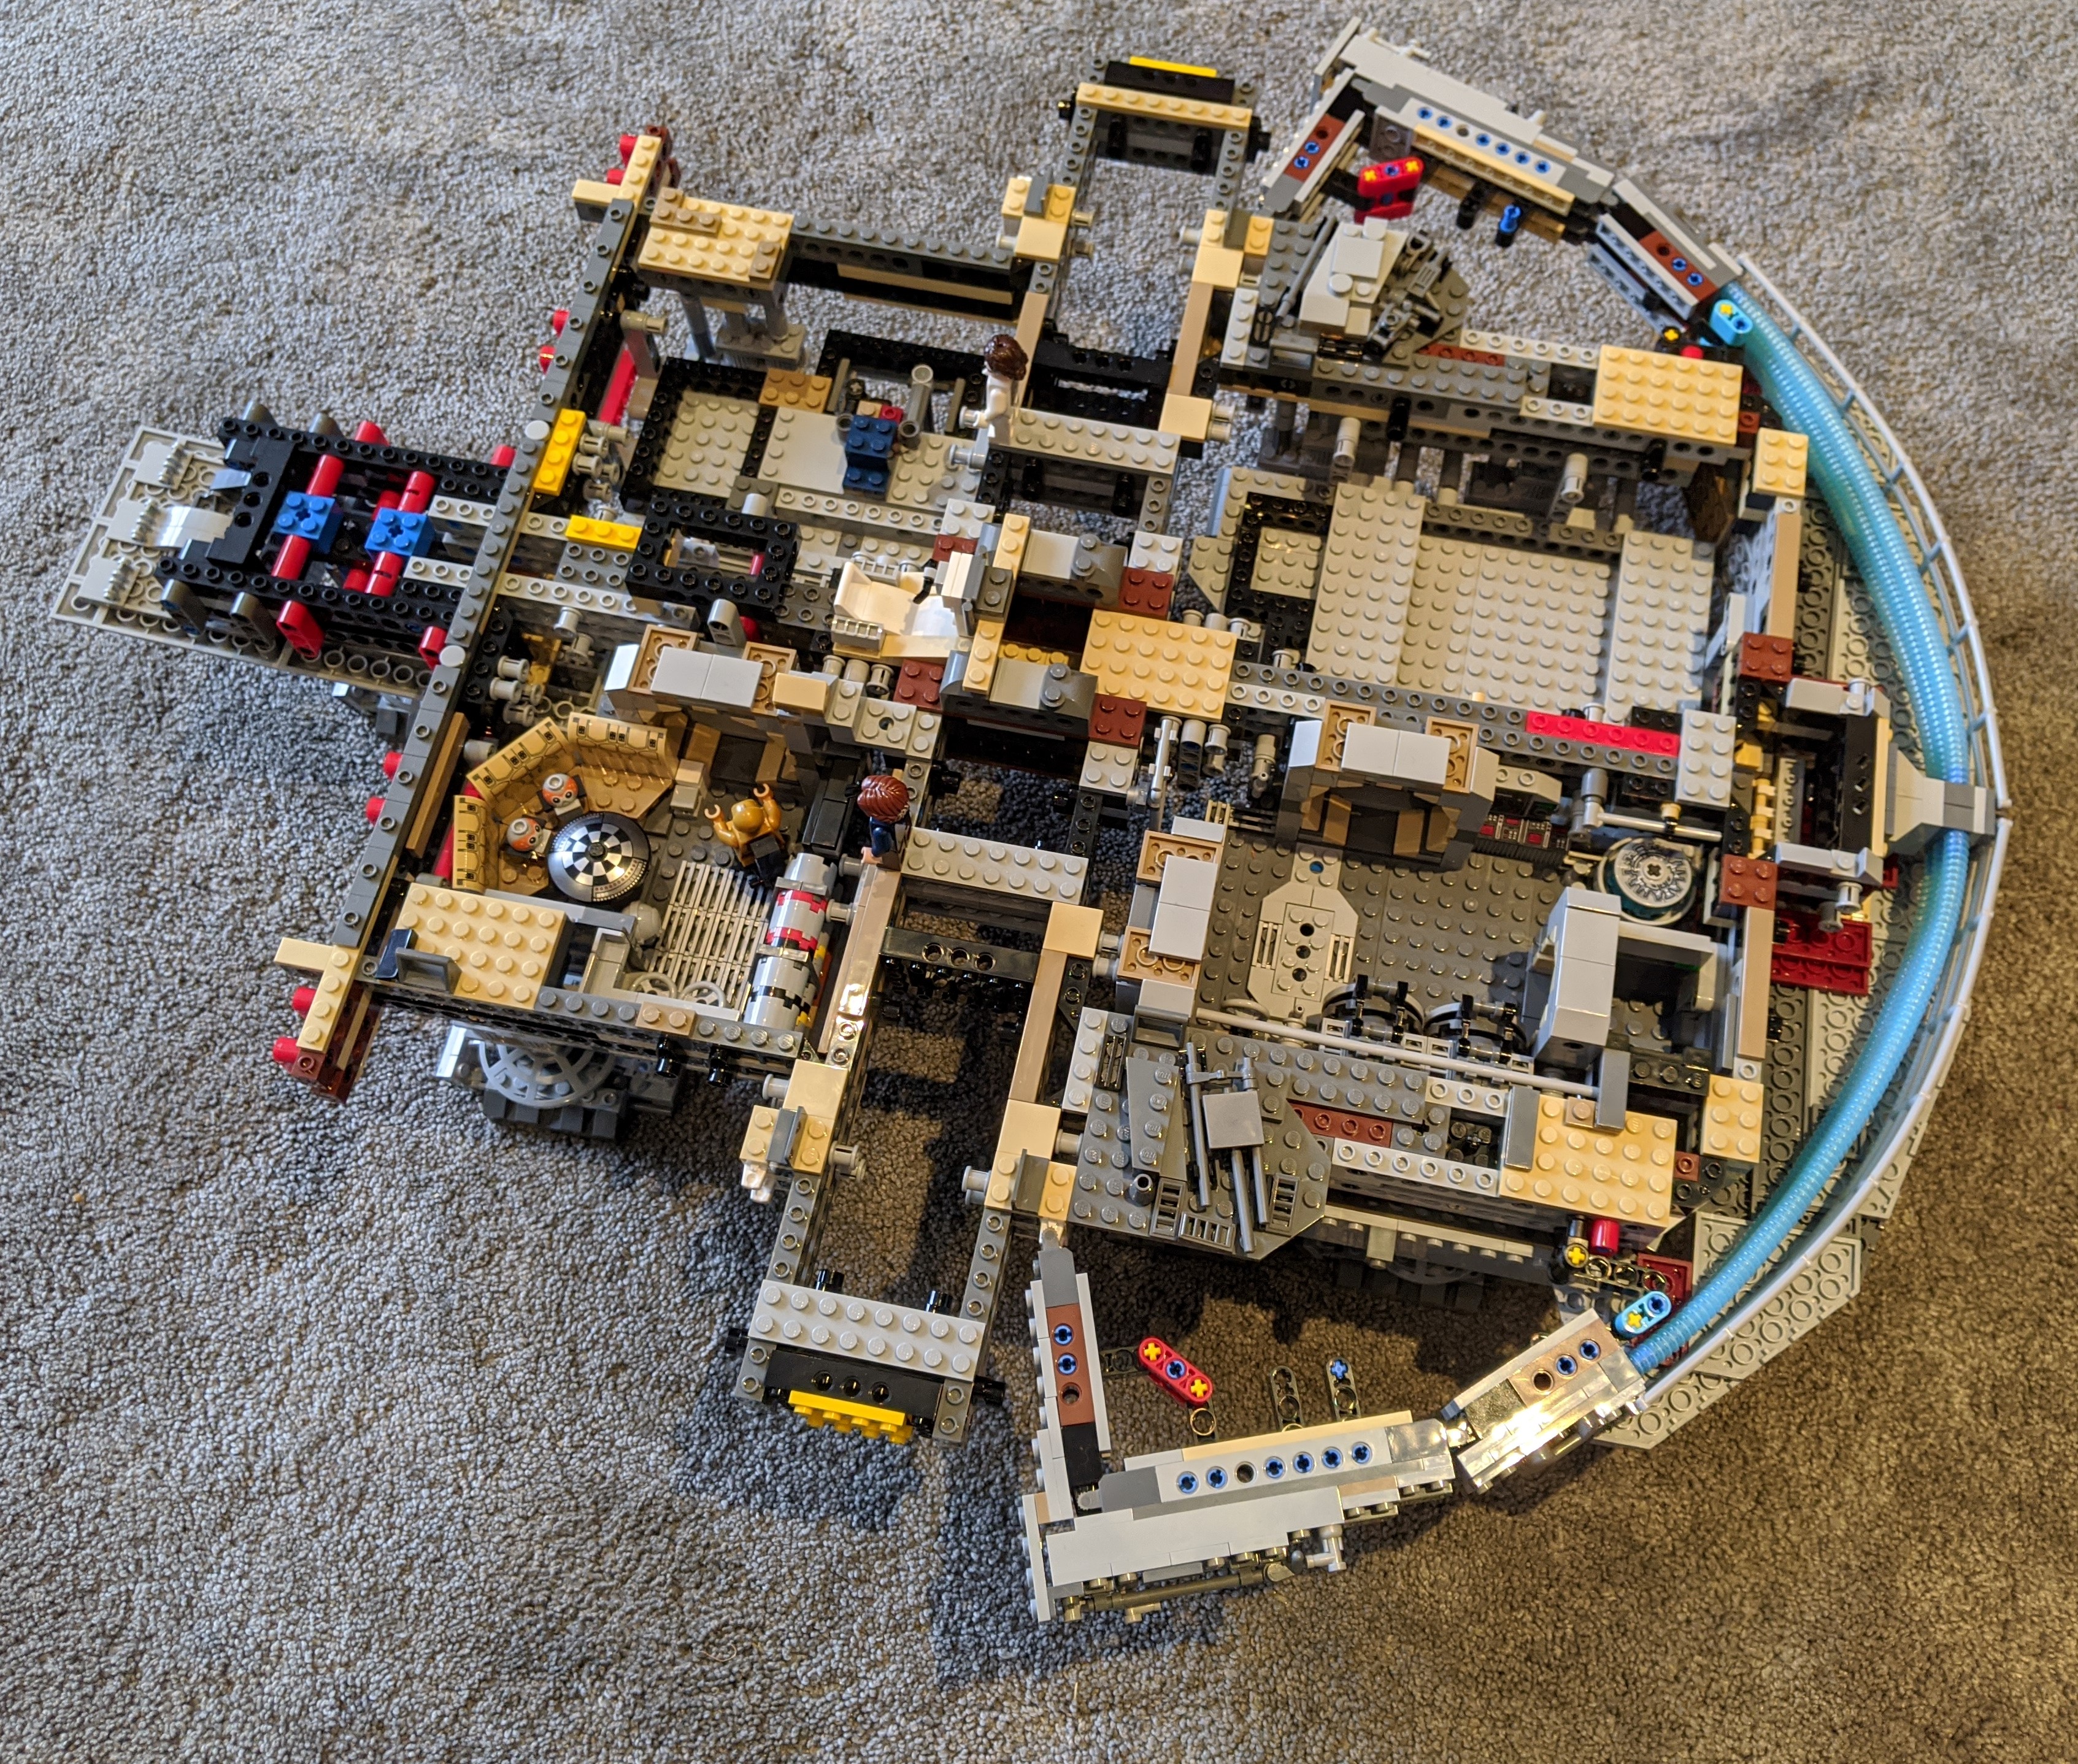
The build is motoring along, and we've got a good balance of Technics structure and detail at this point. The front end is looking a little weak, but we haven't built anything there at all yet. Stay tuned for bags 6, 7 and 8!


There are no comments for this entry.
[Add Comment] [Subscribe to Comments]