|
Adventures in Lego: the UCS Millennium Falcon (75192) – post 3 - bags 6-8 |
||||||||
This is a 7500 piece kit, so its a big build! The biggest Lego set created in fact!
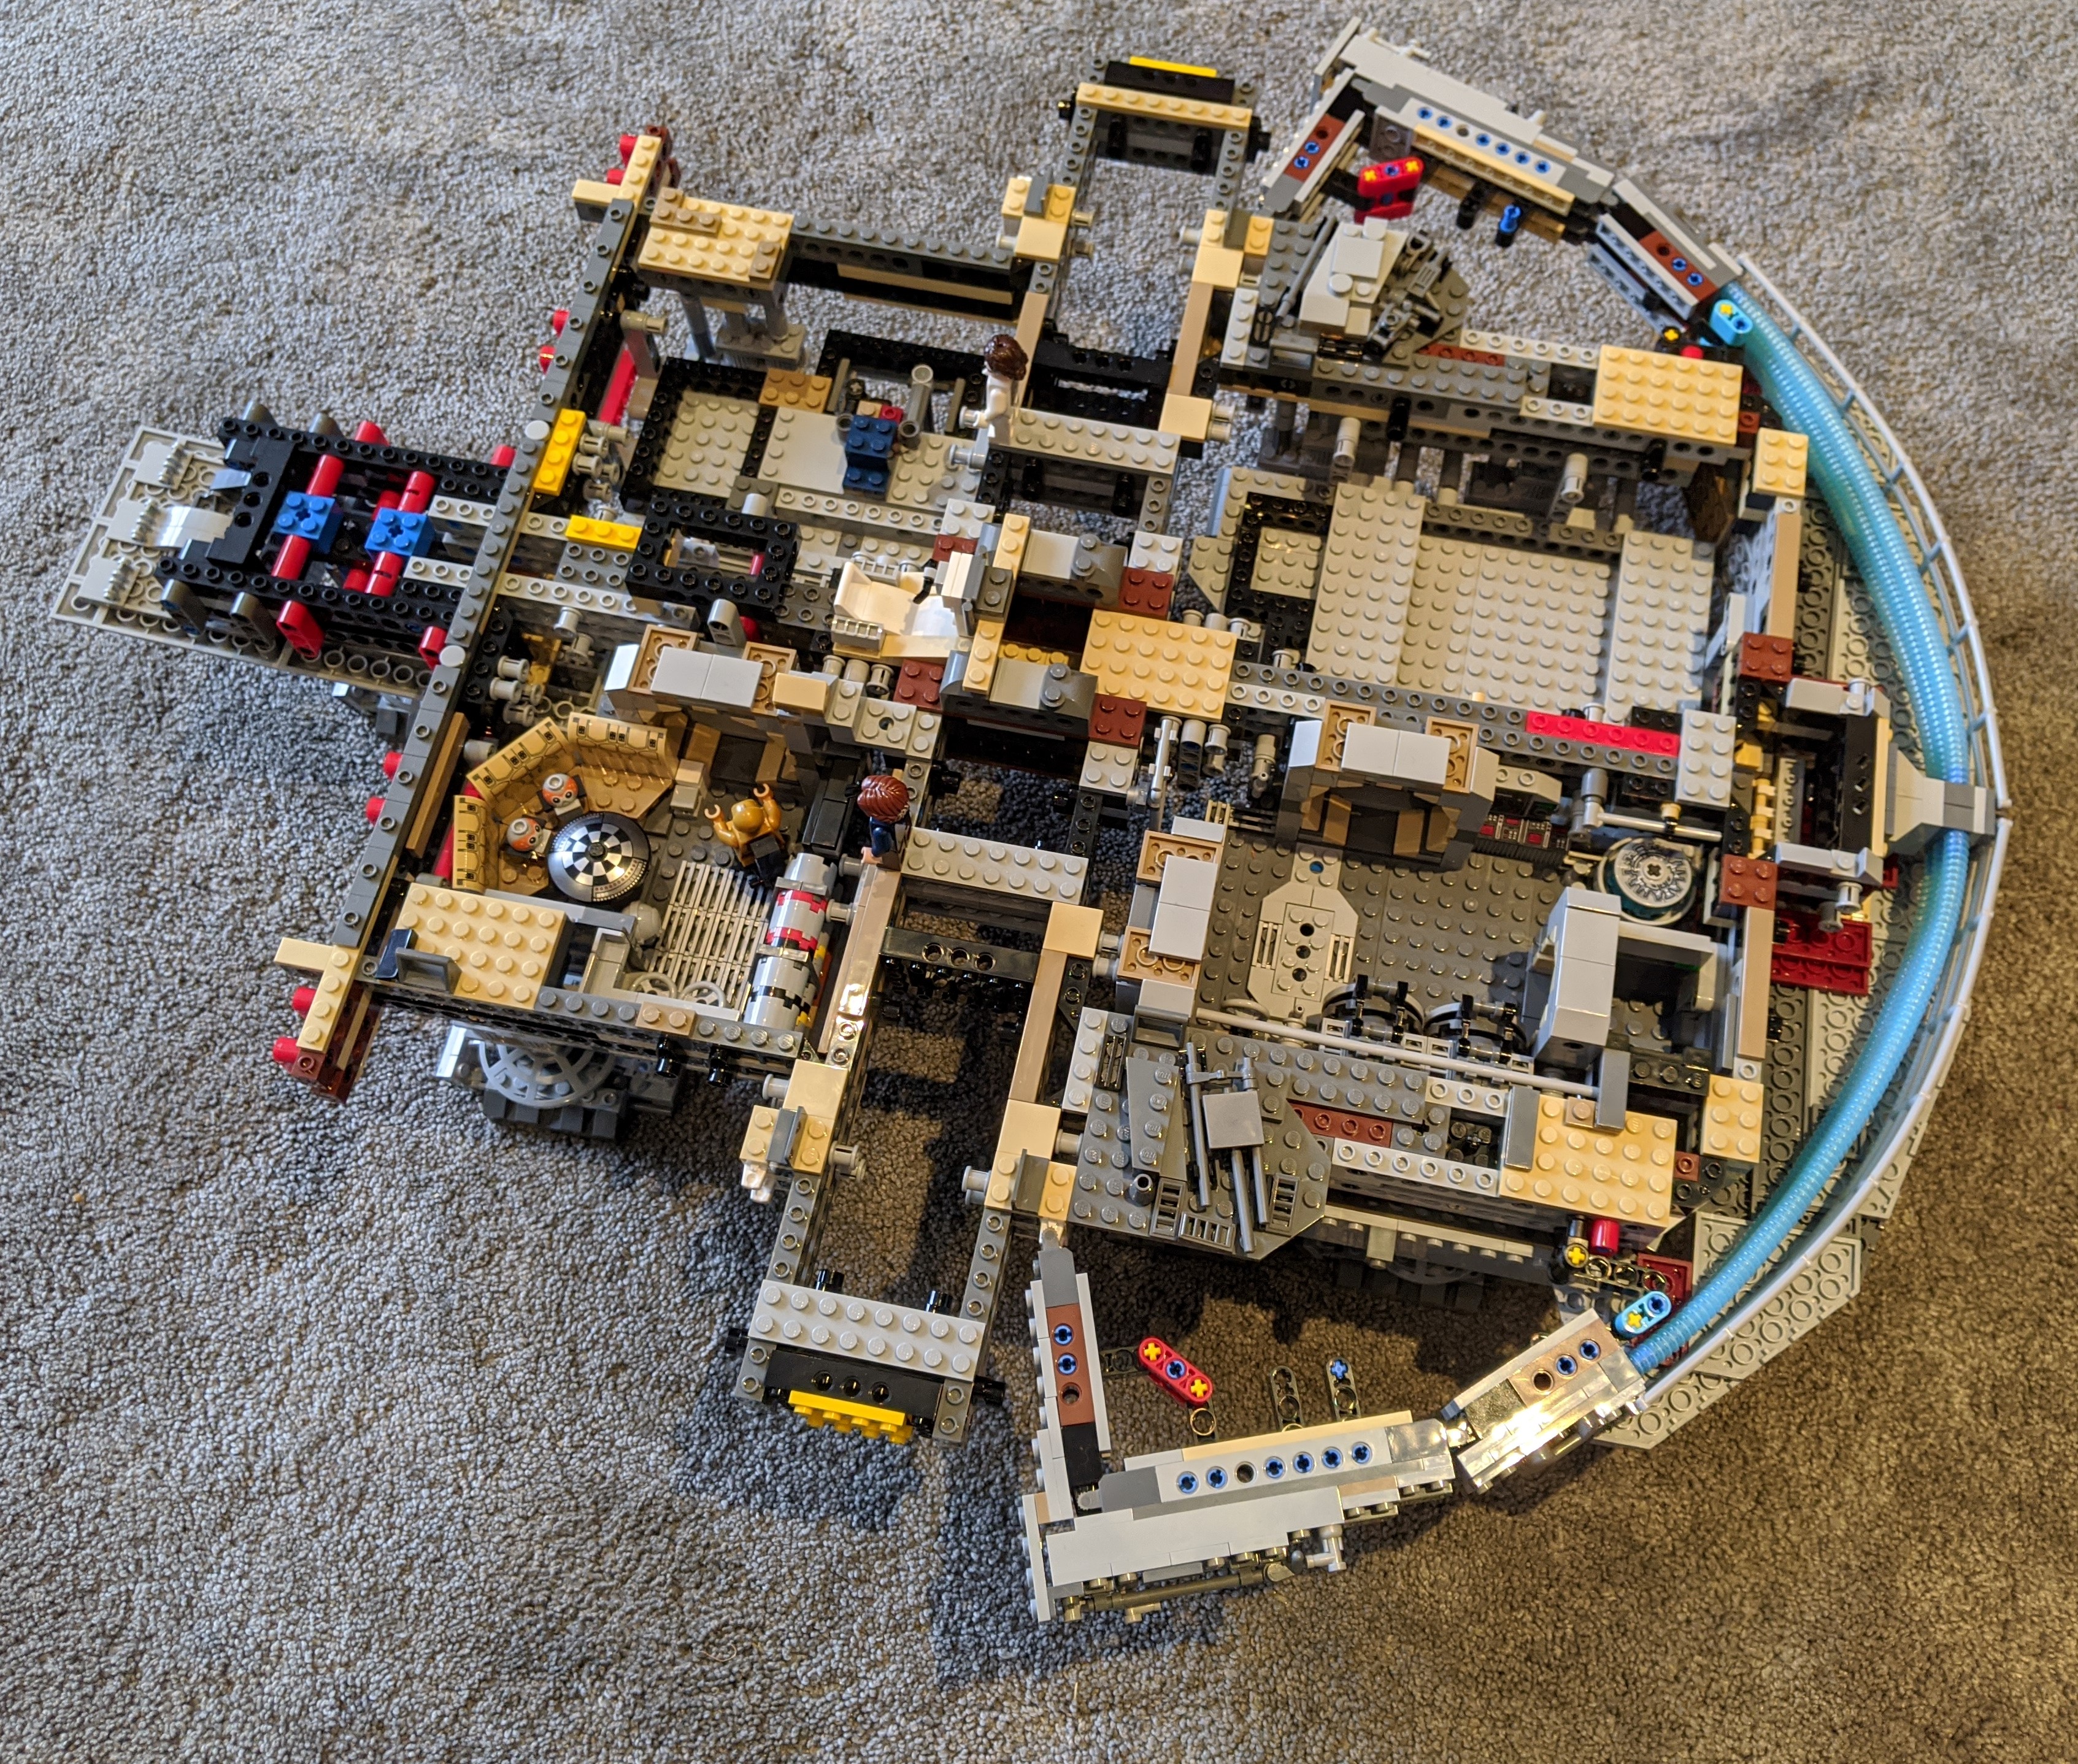
A quick recap of where we are, 5 bags in. We've got a good sized Technics framework, and a lot of detail in the four room areas and the back end. This article will deal with bags 6,7 and 8.
Bag 6 - Front V shapes
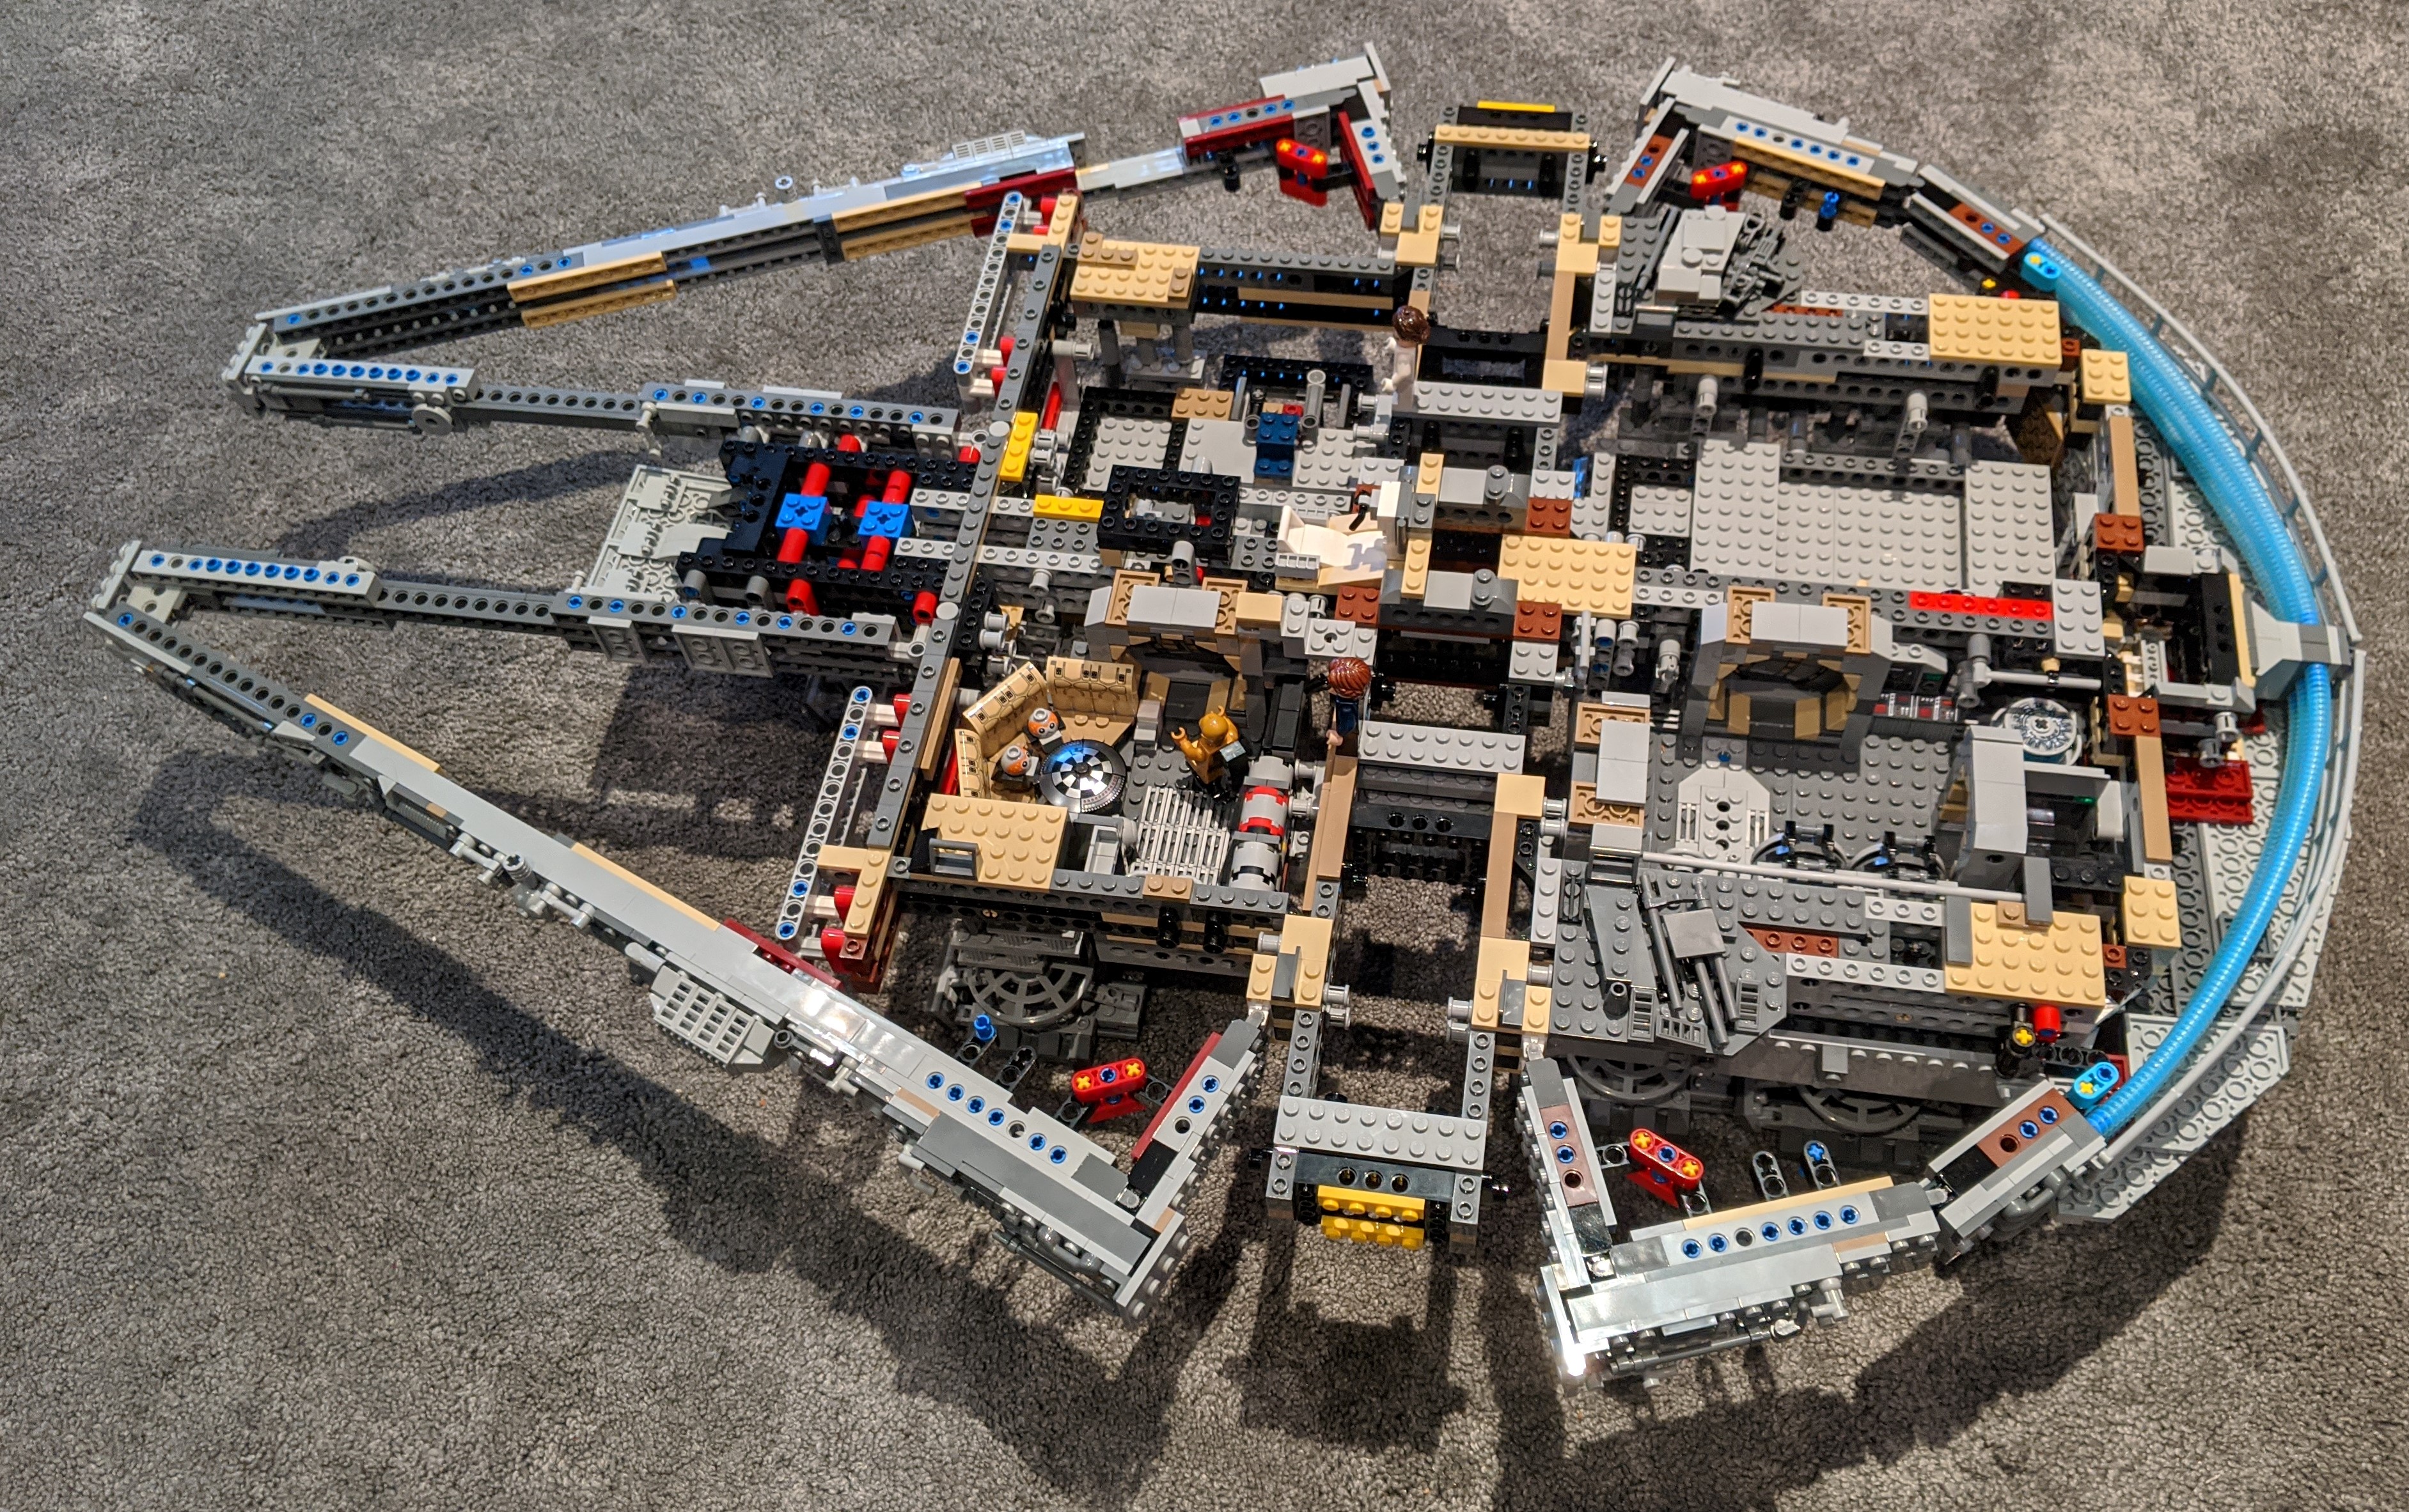
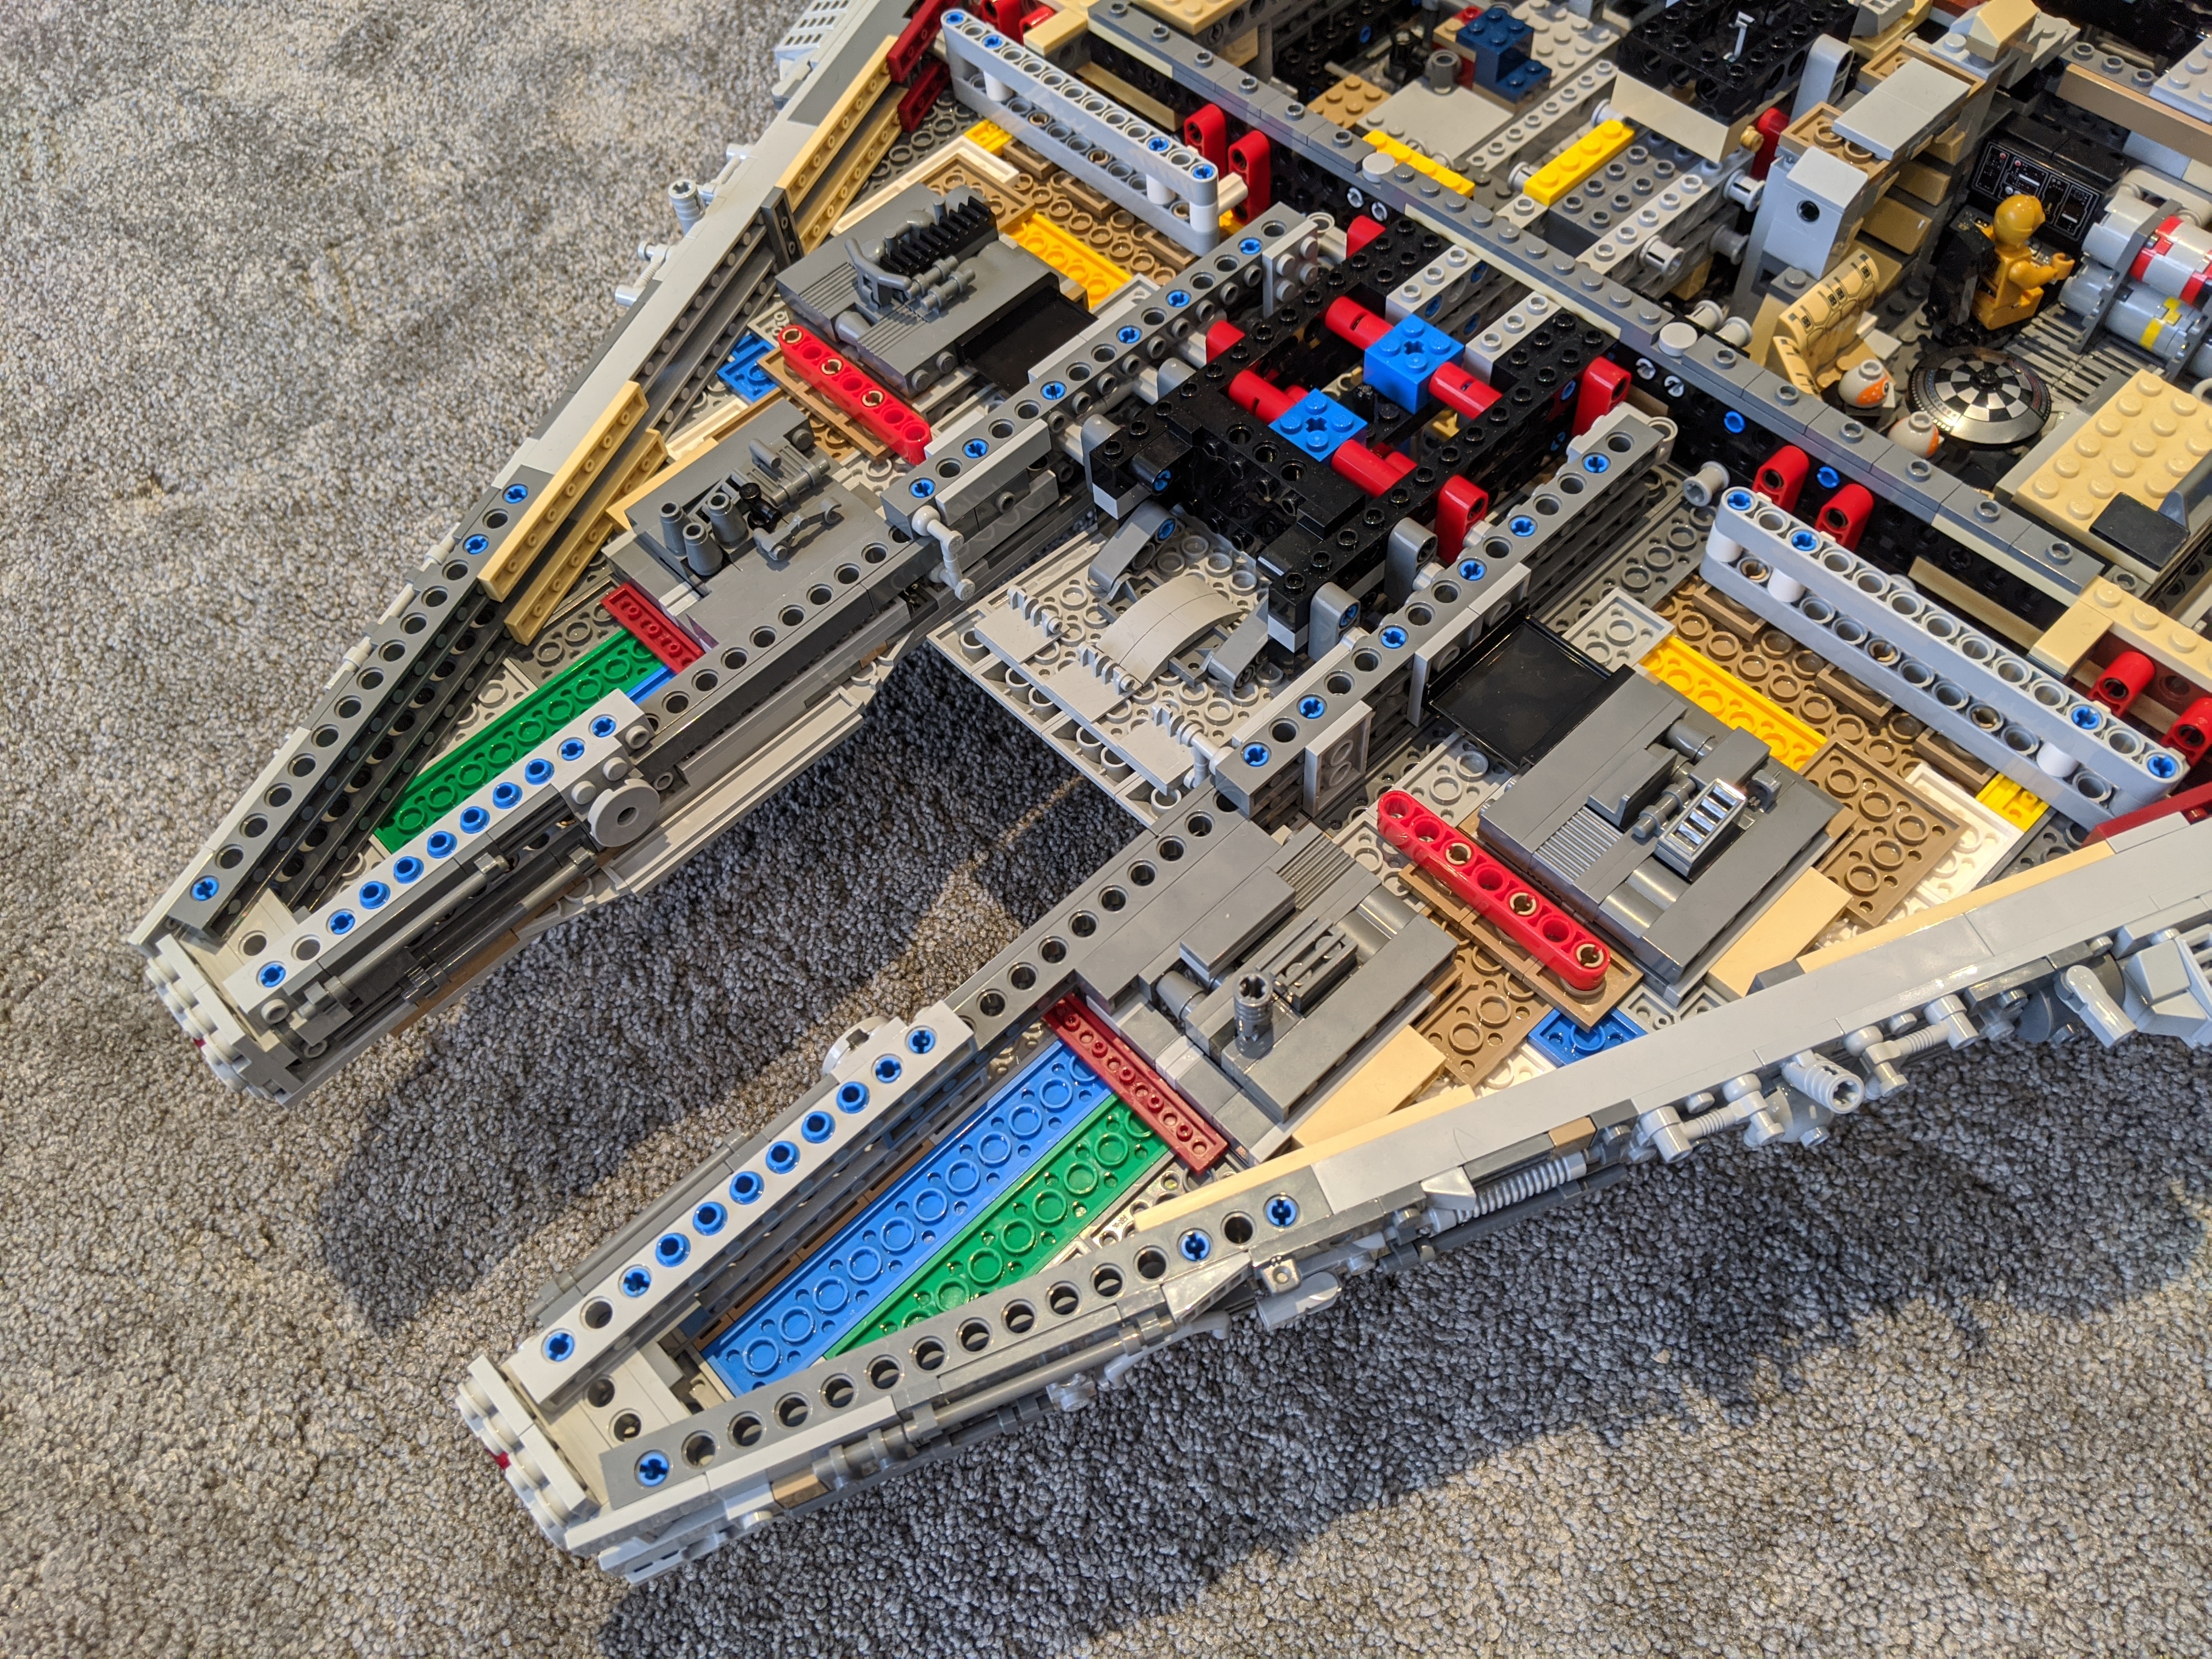
Up until now there hasn't been a lot of progress on the front end. Its still a pretty basic looking stunted structure. This bag changes that up quite a lot, with the introduction of two really long sections that span from mid way back on the centre circle of the structure, all the way out to the front of the ship. These two structures are the longest parts so far, once you've constructed them, and there are a lot of layers of overlapping pieces to give them strength. The detail along the outer edges is fantastic. There are one or two plain areas, but there are a lot of small pieces that all come together to give these edges a layered, detailed look.Once these two front V shapes are in place the overall model looks and feels a LOT bigger. You're really getting a feeling of the scale of this thing now.
Bag 7 - Underside of the front V's
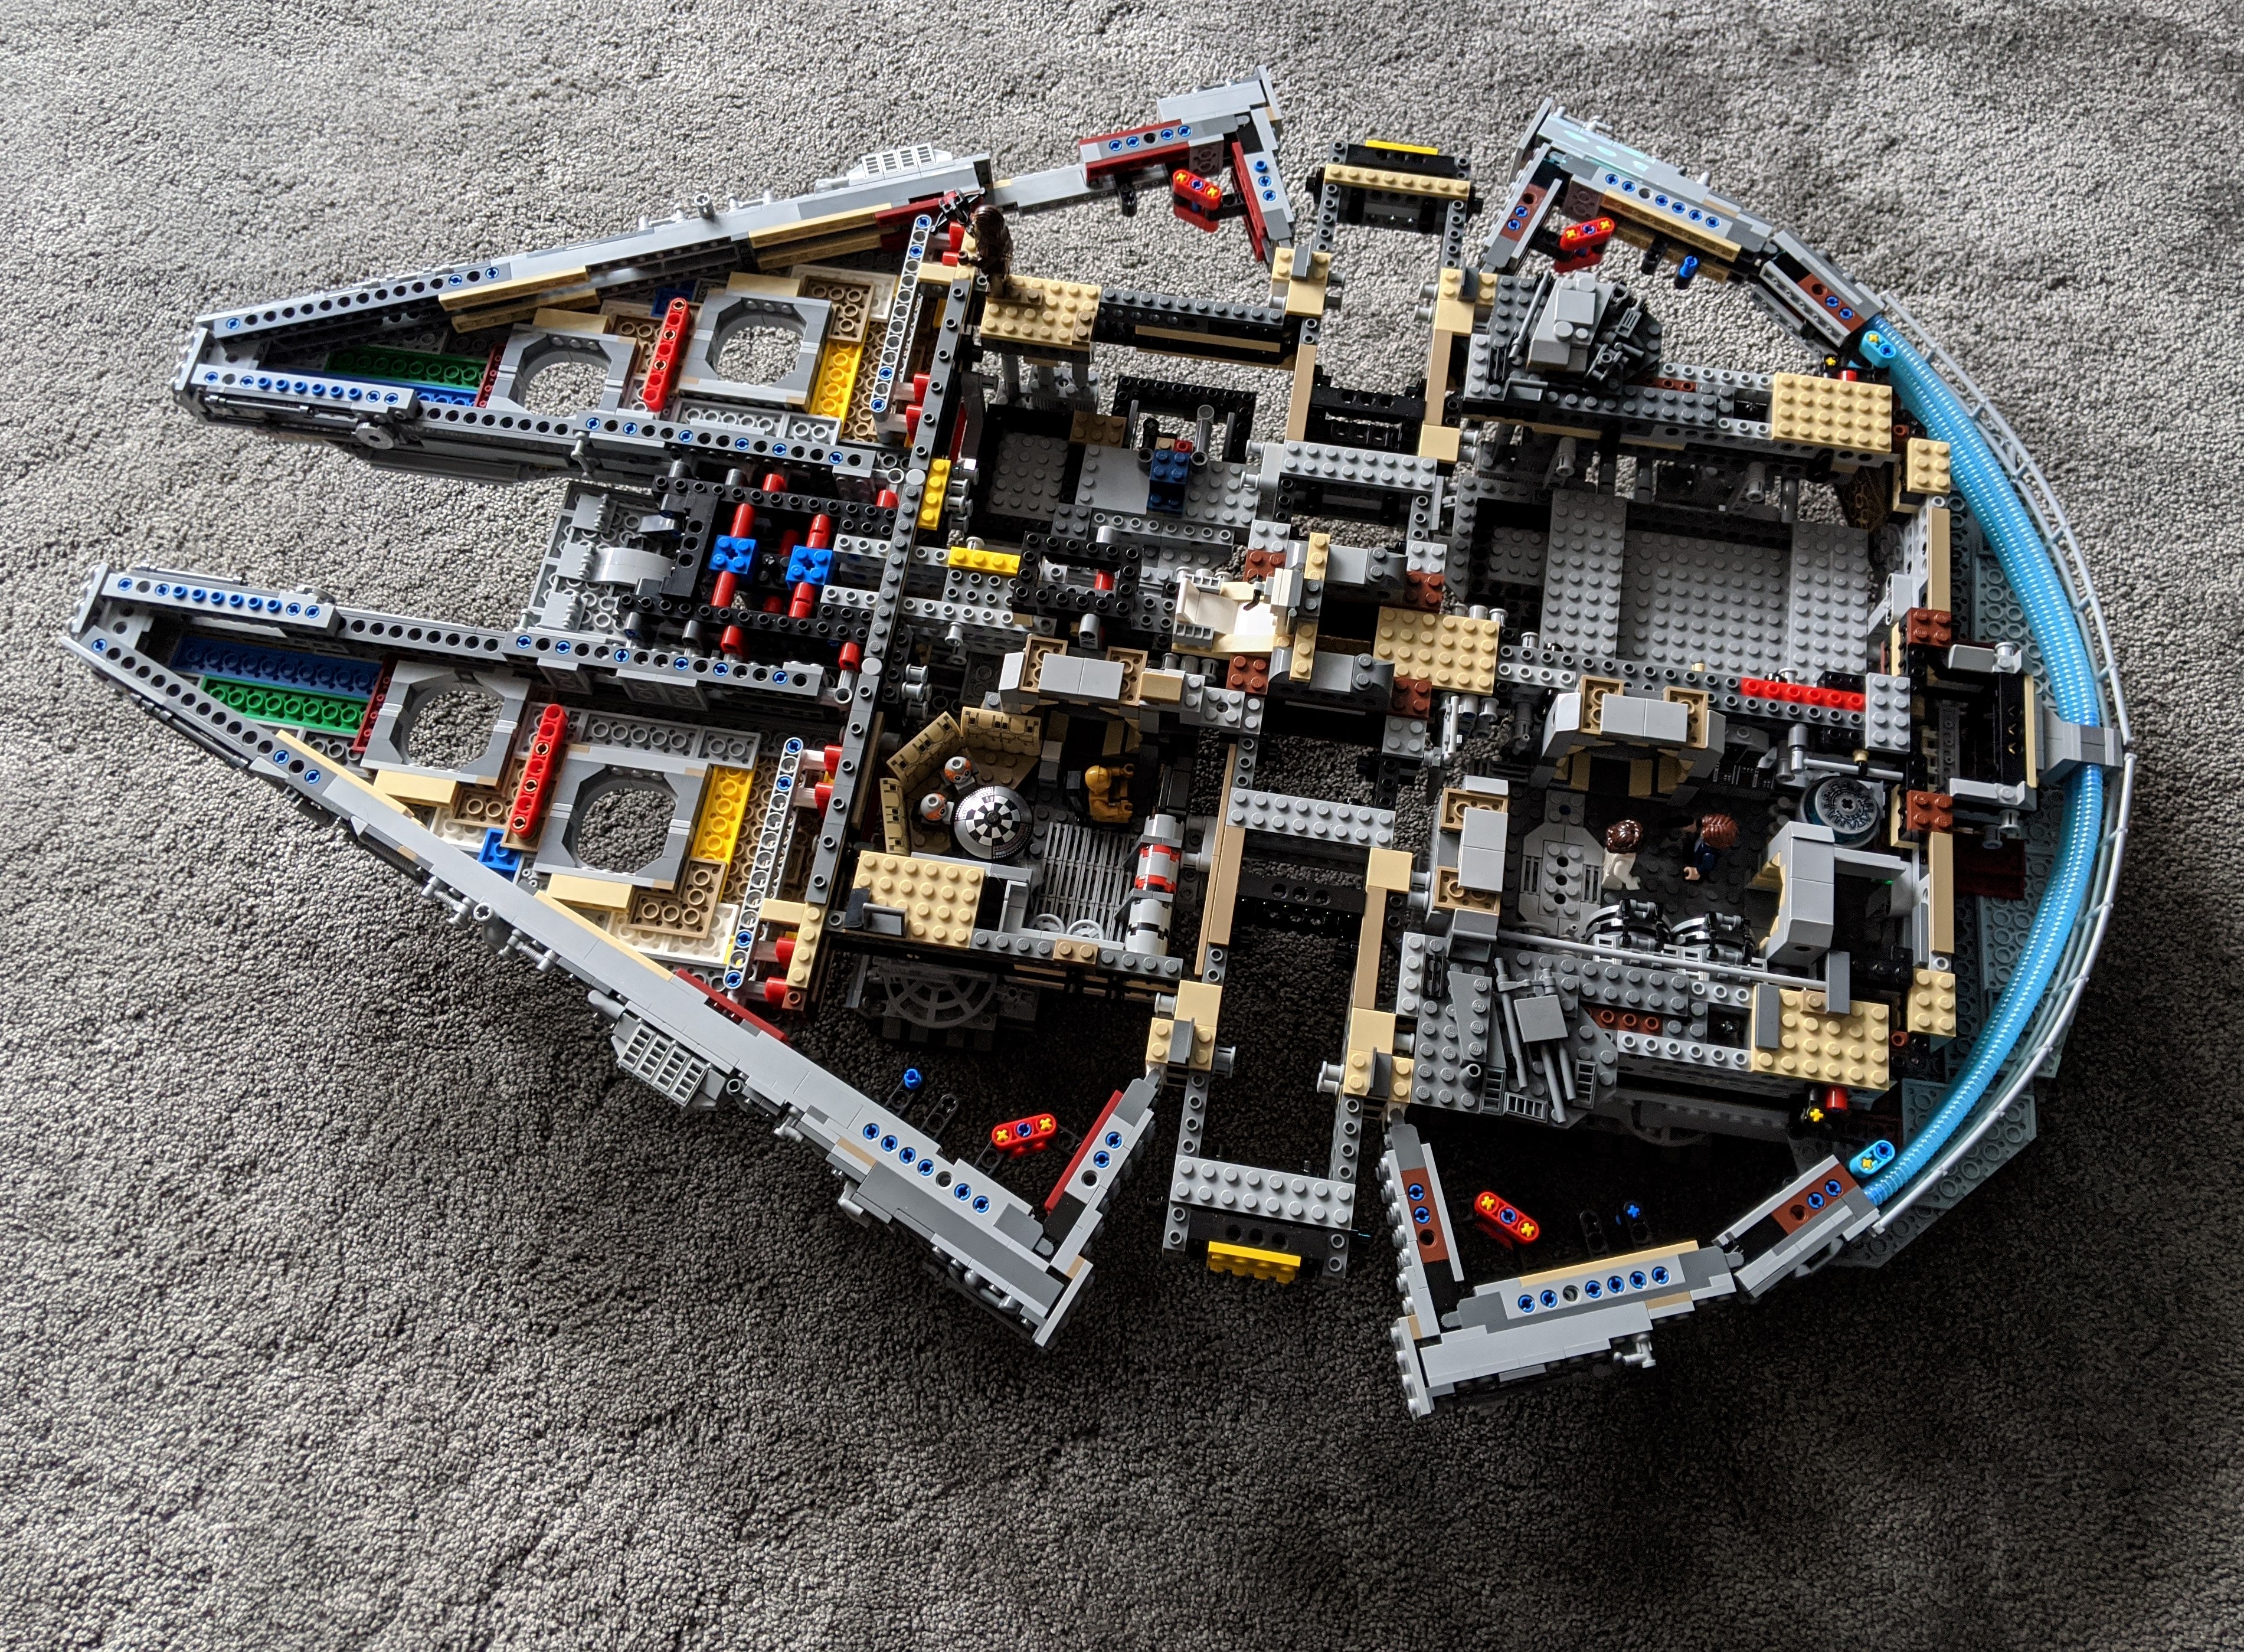
Bags labelled 7 are smaller, so this should be a quicker part of the build. This is all plates that come together to form the underside of the two new front V sections that we put together in the last stage. Handily, as Lego often do, they've used some different colours in this section so you can easily see that you are building, and where each part is going. It does look a little weird having green and blue sections in the interior, but it makes it a lot easier to see the layers, and these will disappear once we add the top layer on.There are also some underside segments here, some additional shapes to round out the bottom and support the V plates. They look nice, and give it some more form, though they are tricky to fit, as you have to be able to get under the model to fit them, and its getting pretty heavy at this point, so its a bit of a juggling act, holding it up and fitting a new section that joins with 6 pins.
Bag 8 - Side underplates and front V hole covers
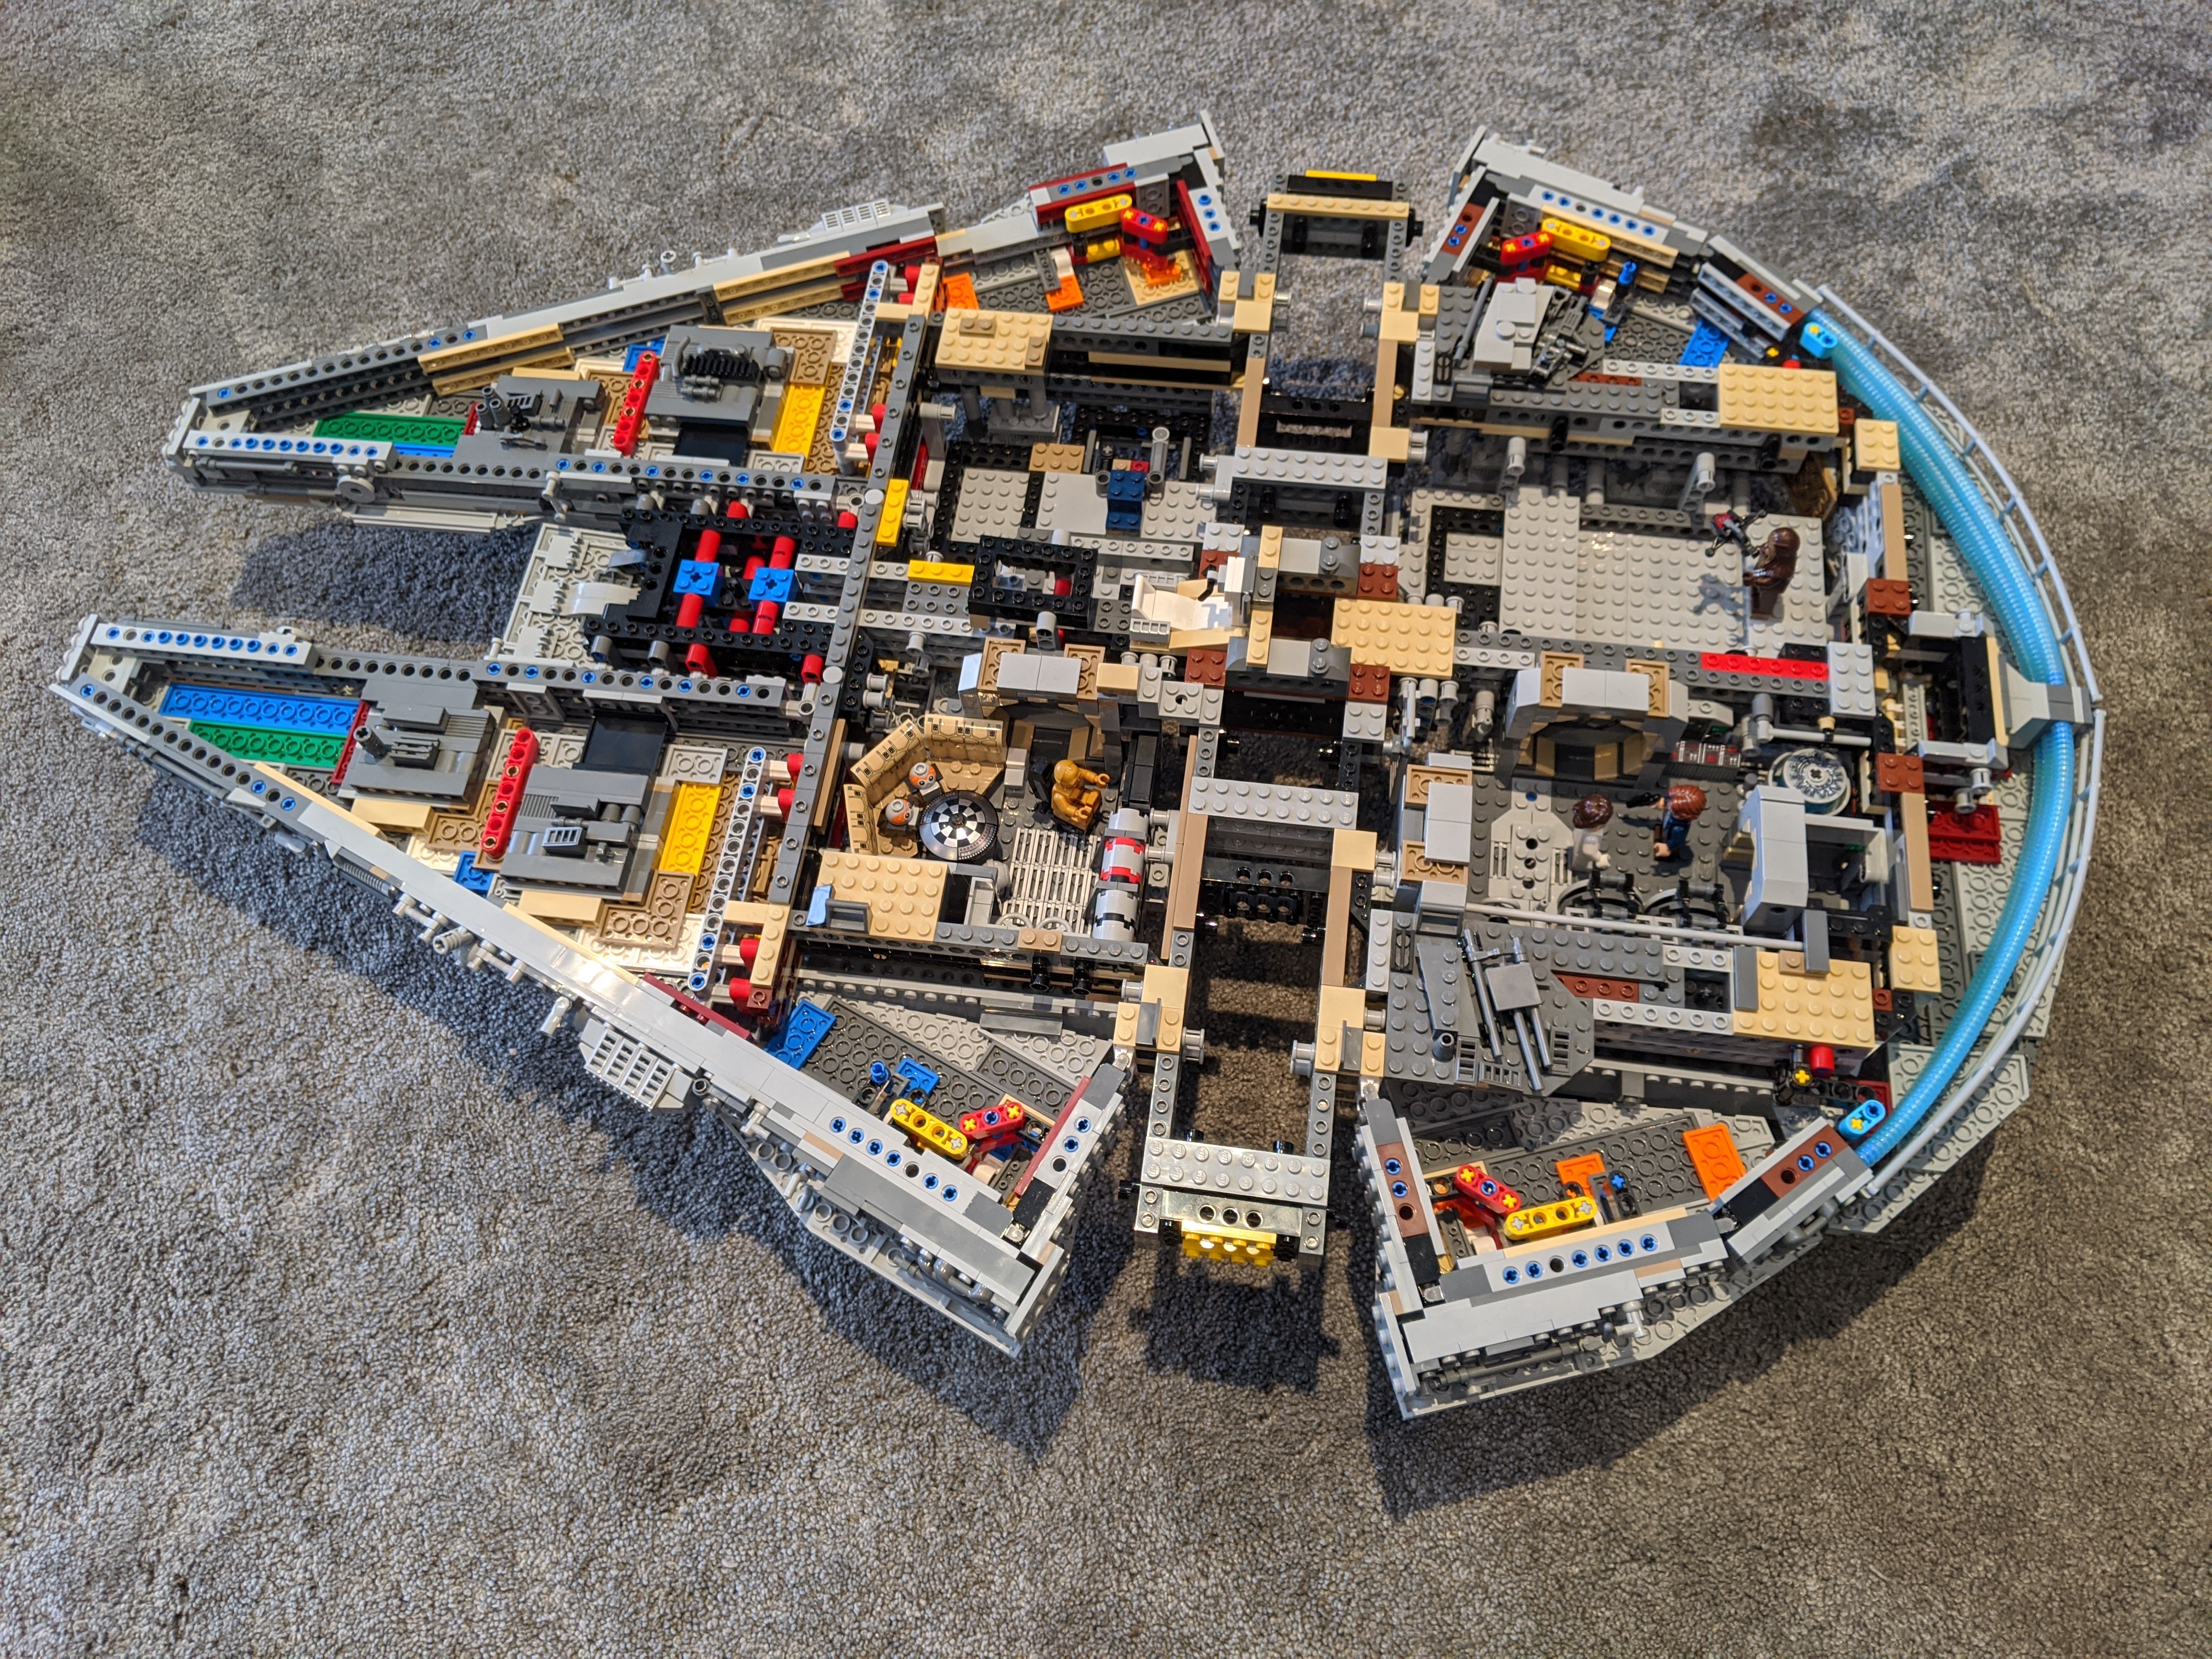
Bag 8 is back up to 4 bags of pieces, so there's going to be more coverage here. This is quite a repetitive section as we're effectively building out the same parts a few times. Each of the larger parts constructed in this section pin into the underside of the frame, becoming undercarriage. Its cleverly down, and really rounds out the edges. Hopefully you can see from the pictures that the original Technics framework is gradually disappearing through a combination of covering plates and overlapping details.Interestingly, the four holes that we created in the front end V plates in the bag 7 are filled in here with additional constructions, so I'm interested to see whats happening here.
Logistically its getting quite heavy now, and I'm starting to questions whether moving this to a 'build area' and putting it away each time is a good idea. We're about half way through the build, so I can't wait to see where it goes next.




There are no comments for this entry.
[Add Comment] [Subscribe to Comments]