


|
Adventures in Lego: the UCS Millennium Falcon (75192) – post 4 - bags 9-12 |
||||||||
This is a 7500 piece kit, so its a big build! The biggest Lego set created in fact!
A quick recap of where we are 8 bags in. We've got a complete Technics framework, a couple of of room areas, the front V shapes and the back end. This article will deal with bags 9 through 12.
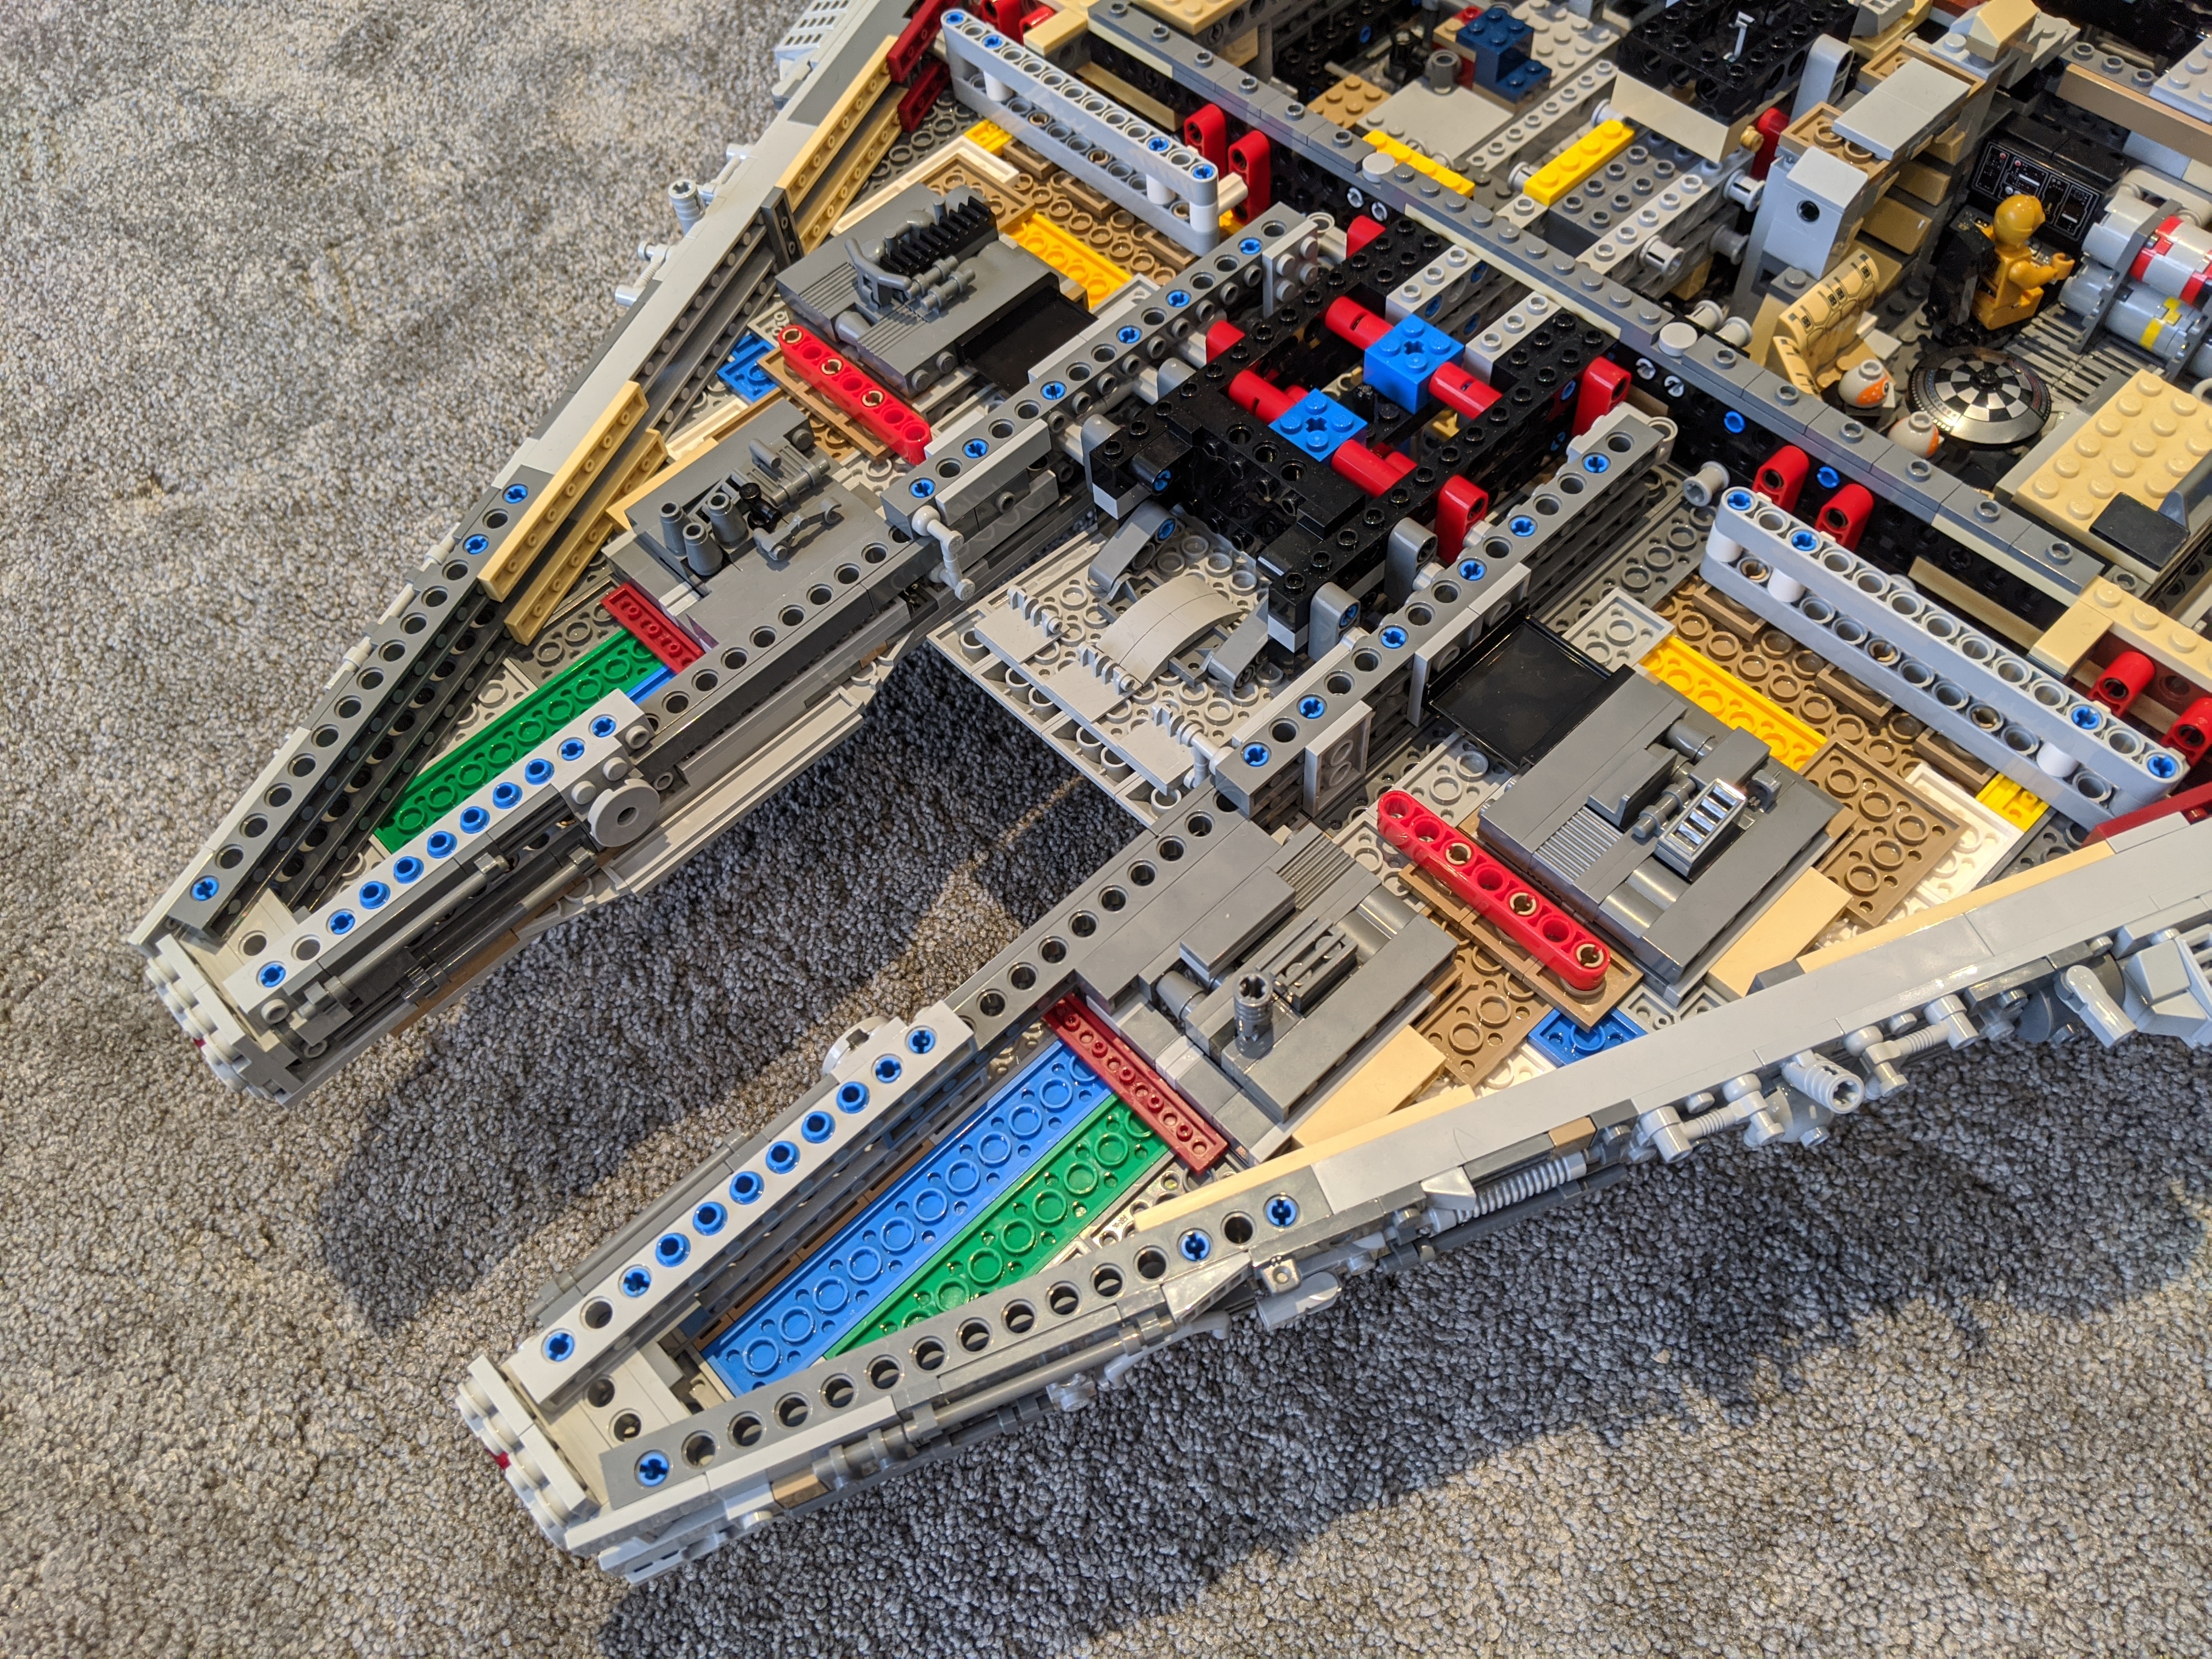
Bag 9 - Front V shapes - covering on top
Following on from the previous two bags, where I built the V forks at the front and the the undercarriage in the same space, we're now building the V plates that sit on top of the V forks. There are four square build out parts as well, which are a tricky part of the build, but give a view into the interior of the front nicely. The layering really gives it a lot of detail.
Bag 10 - Underside of the central spokes
Bags labelled 10 are smaller, so this is going to be a quick stage. The bag splits into two parts, left and right undercarriage, each of them is a kind of half hexagon shape that clips on to the bottom of the central spokes to complete the underside. From the top you can't notice much difference, but it completes the edges and gives it a more fleshed out feel. Underneath there is a significant number of pieces adding detail. You'd have to be able to display it in a way that meant you could actually see the underside though, which could be an issue.
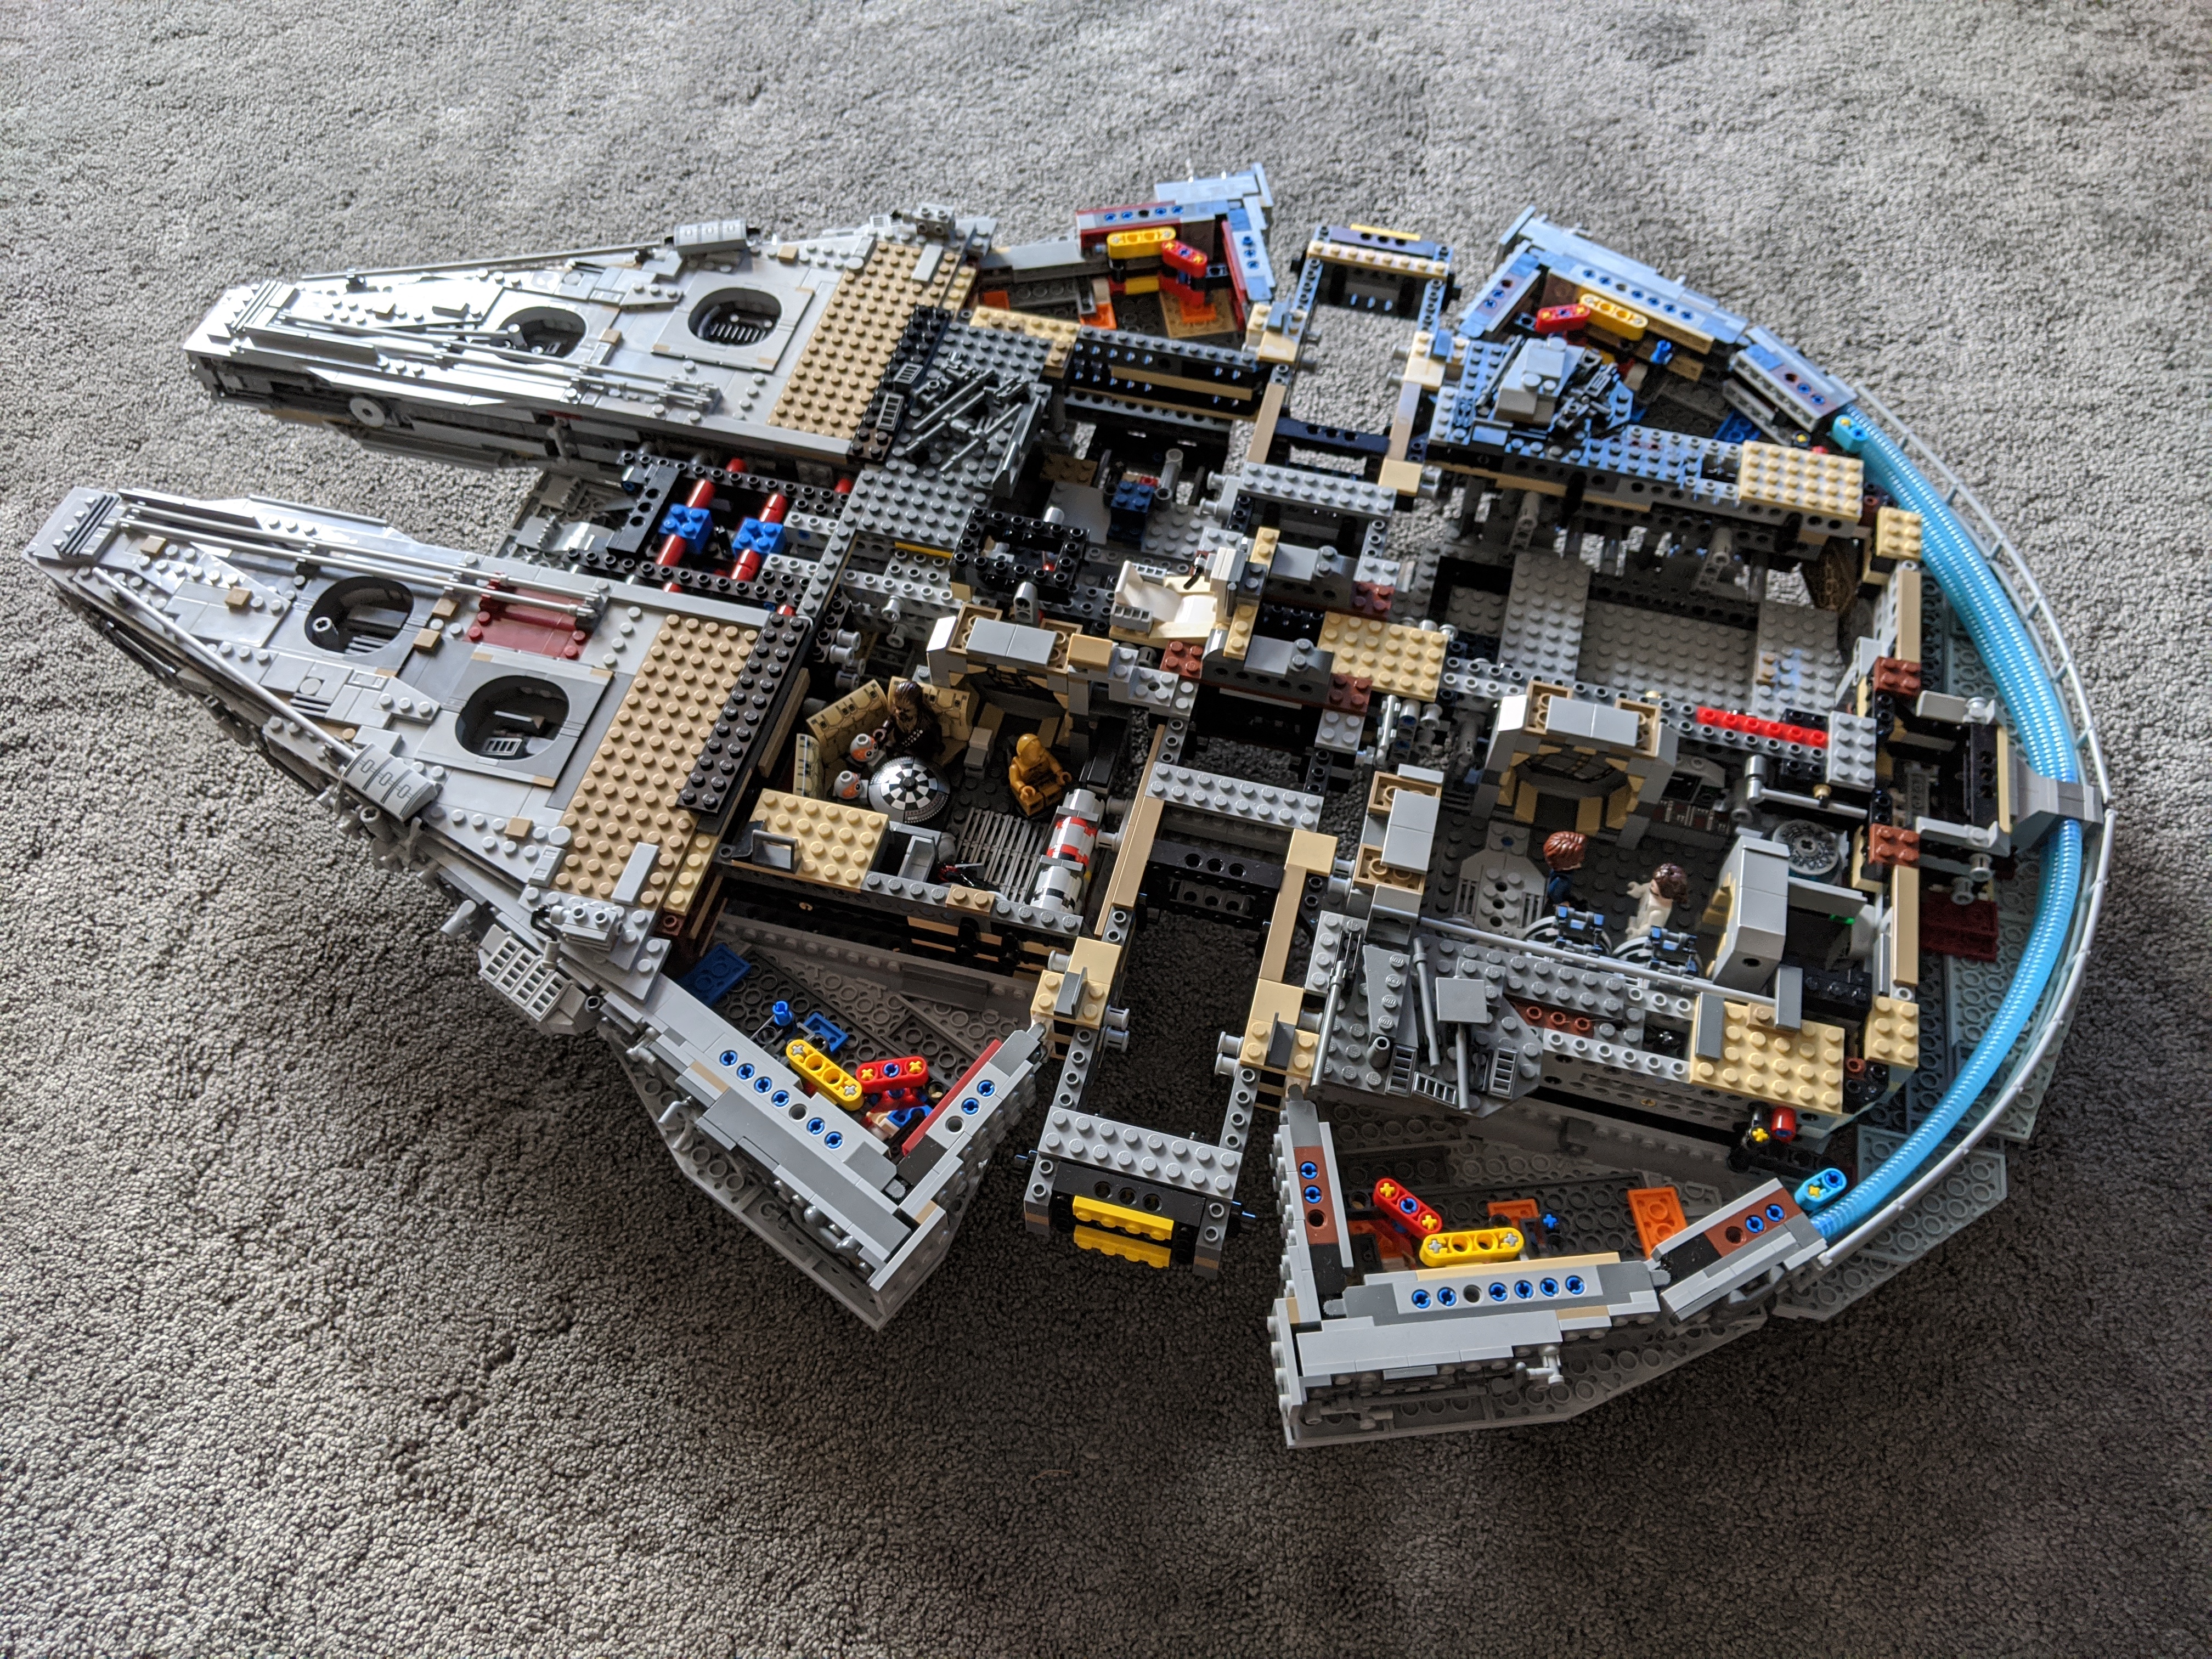
Bag 11 and 12 - Top sides of the central spokes and beginning rear top plates
Bag 11 is basically a replica of bag 10, its just the equivalent top sections. Clipping the left and right sections of the central spokes into place makes them a complete unit at this point, just the caps left to put on in a later bag. This was a little repetitive, but its nice to get a quick section out of the way.
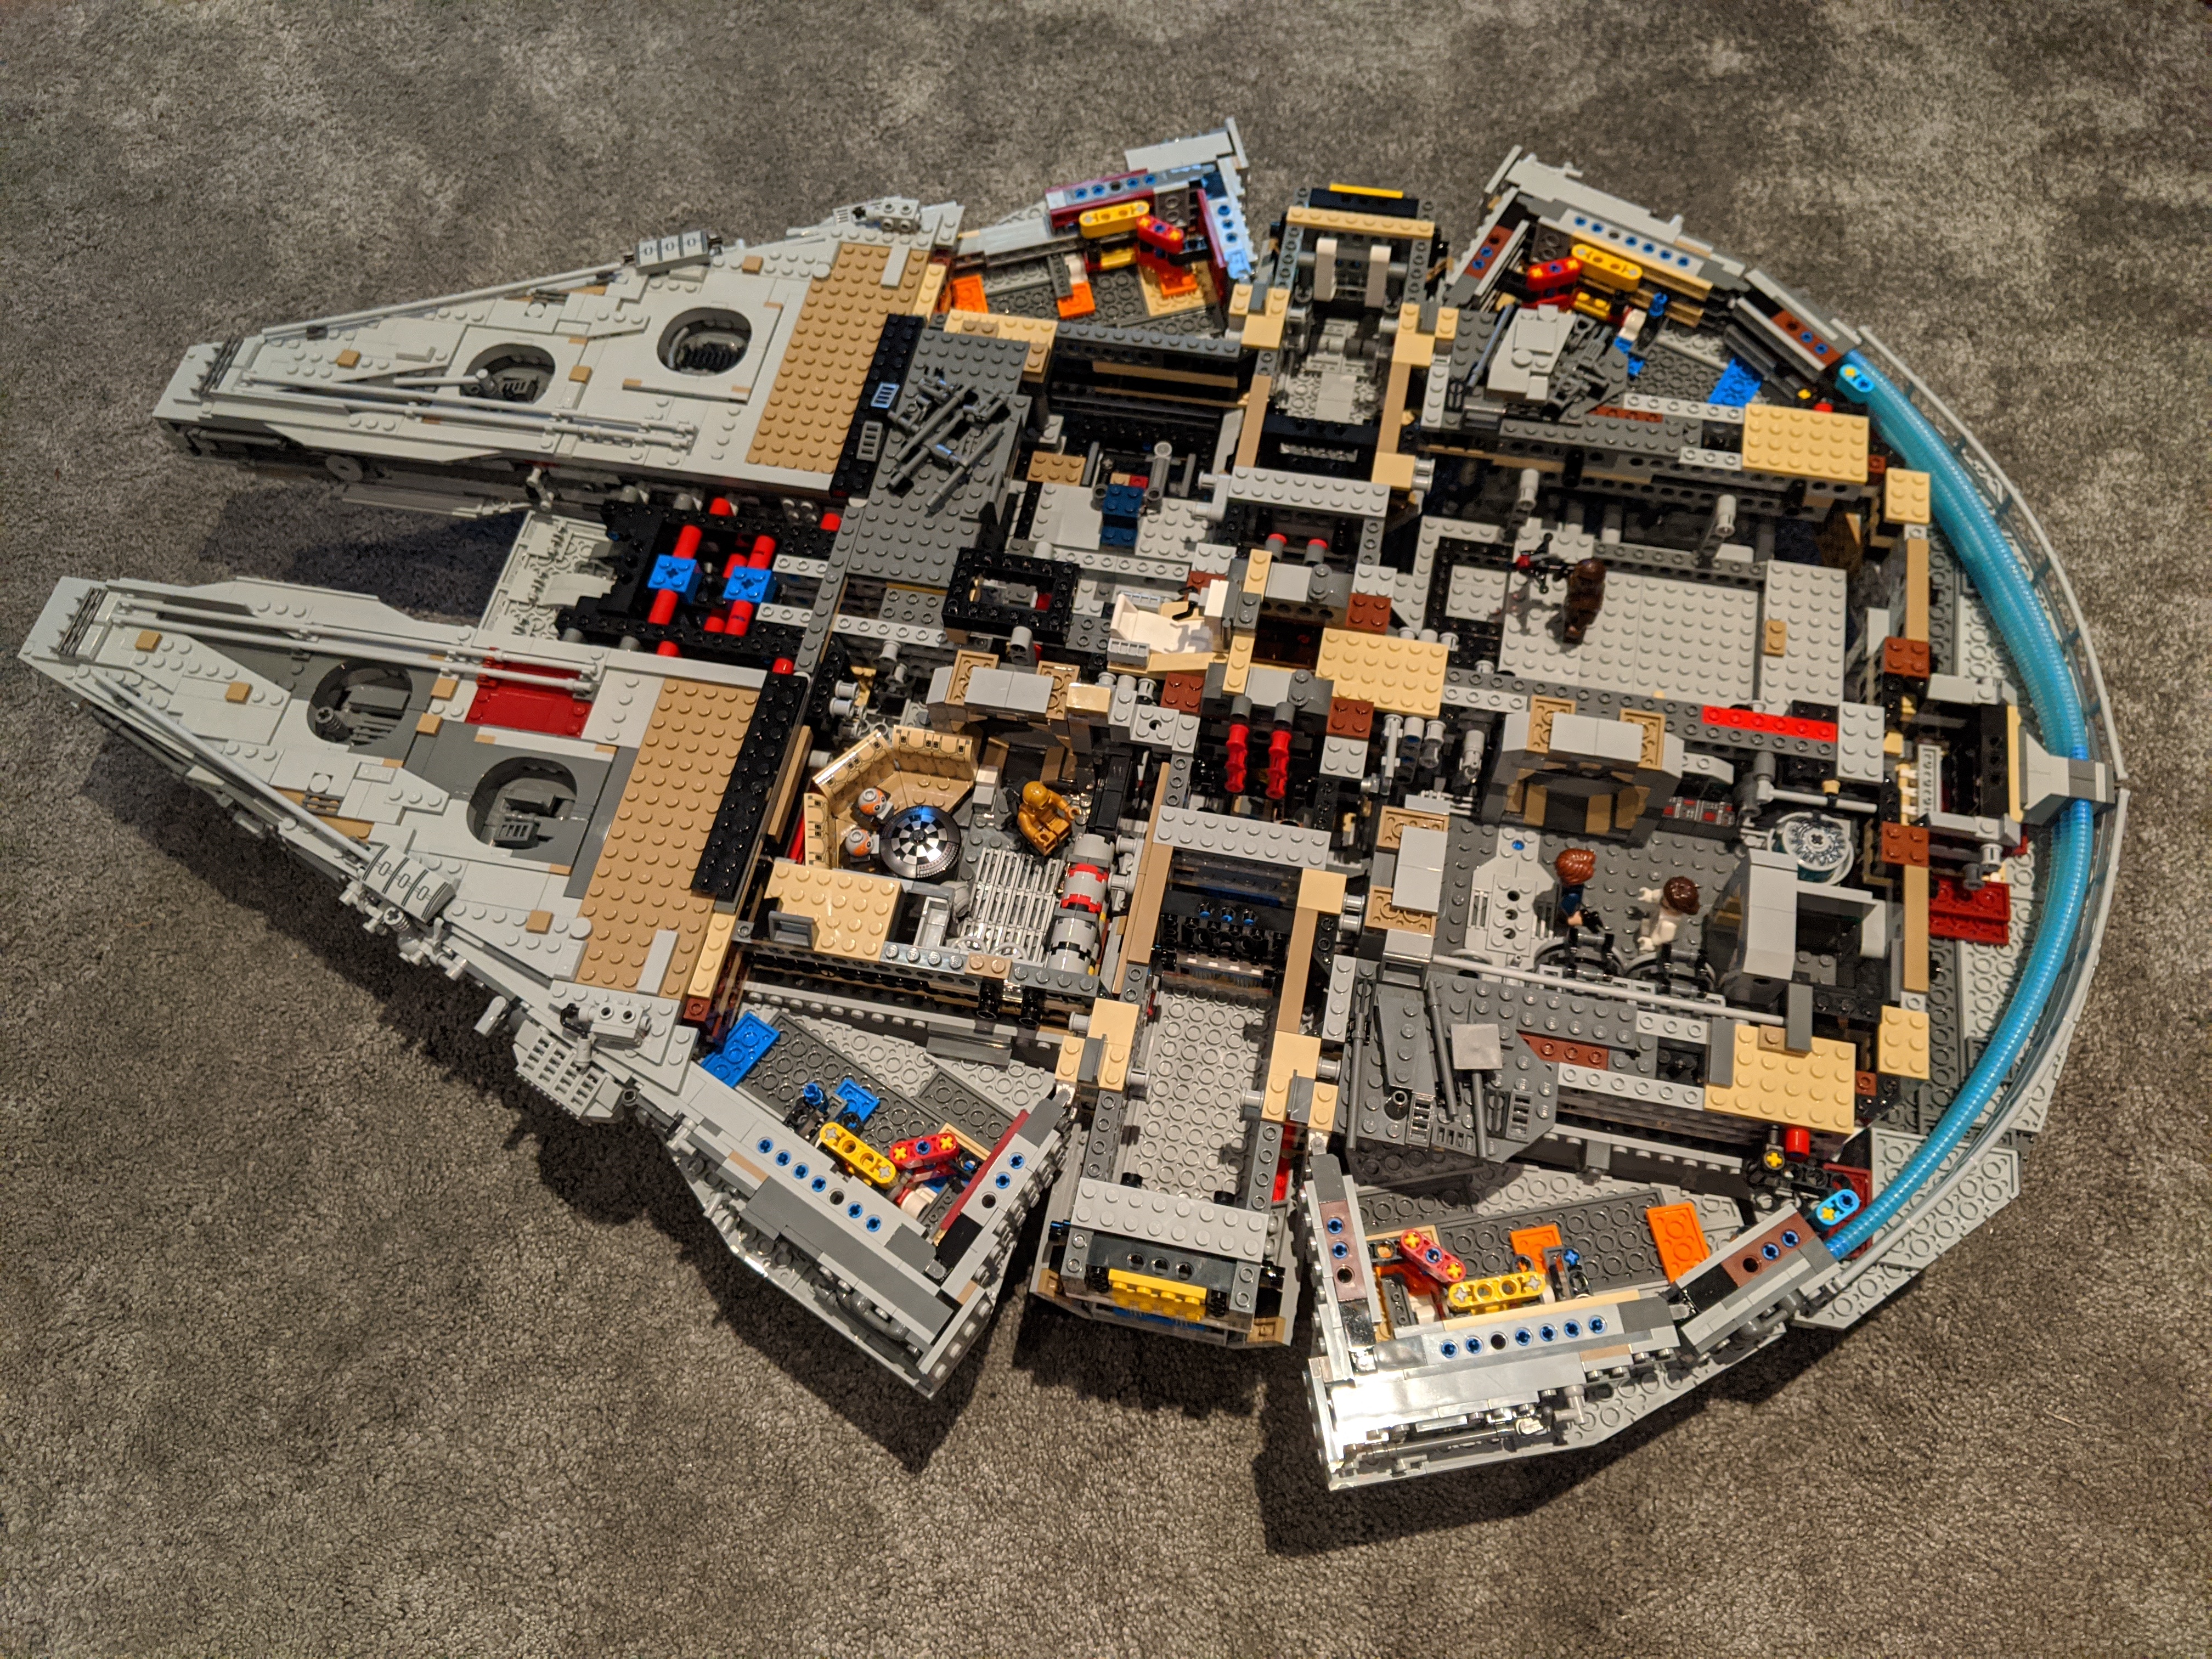
Bag 12 starts off the process of building out the rear top panels. This is a really complex part of the build. There is a load of small pieces, that all layer on top of the larger plates. Most of this is built by overlapping multiple larger plates into reasonably sized, mostly curved plates that layer nicely across the back of the ship. Most of these larger plates clip into the main frame by only one or two Technics pins, so they aren't really fixed on, but easily removed for access.
This is also where the larger circular engine vents start to be built out. Each of them is 16 black grill pieces surrounded by circular quarters. They come together really well and are impressively detailed.
By the end of bag 12 you've built out around 50% of the back plates, through a series of interlocking pieces. Its a lot more complex than the product images might lead you to believe.
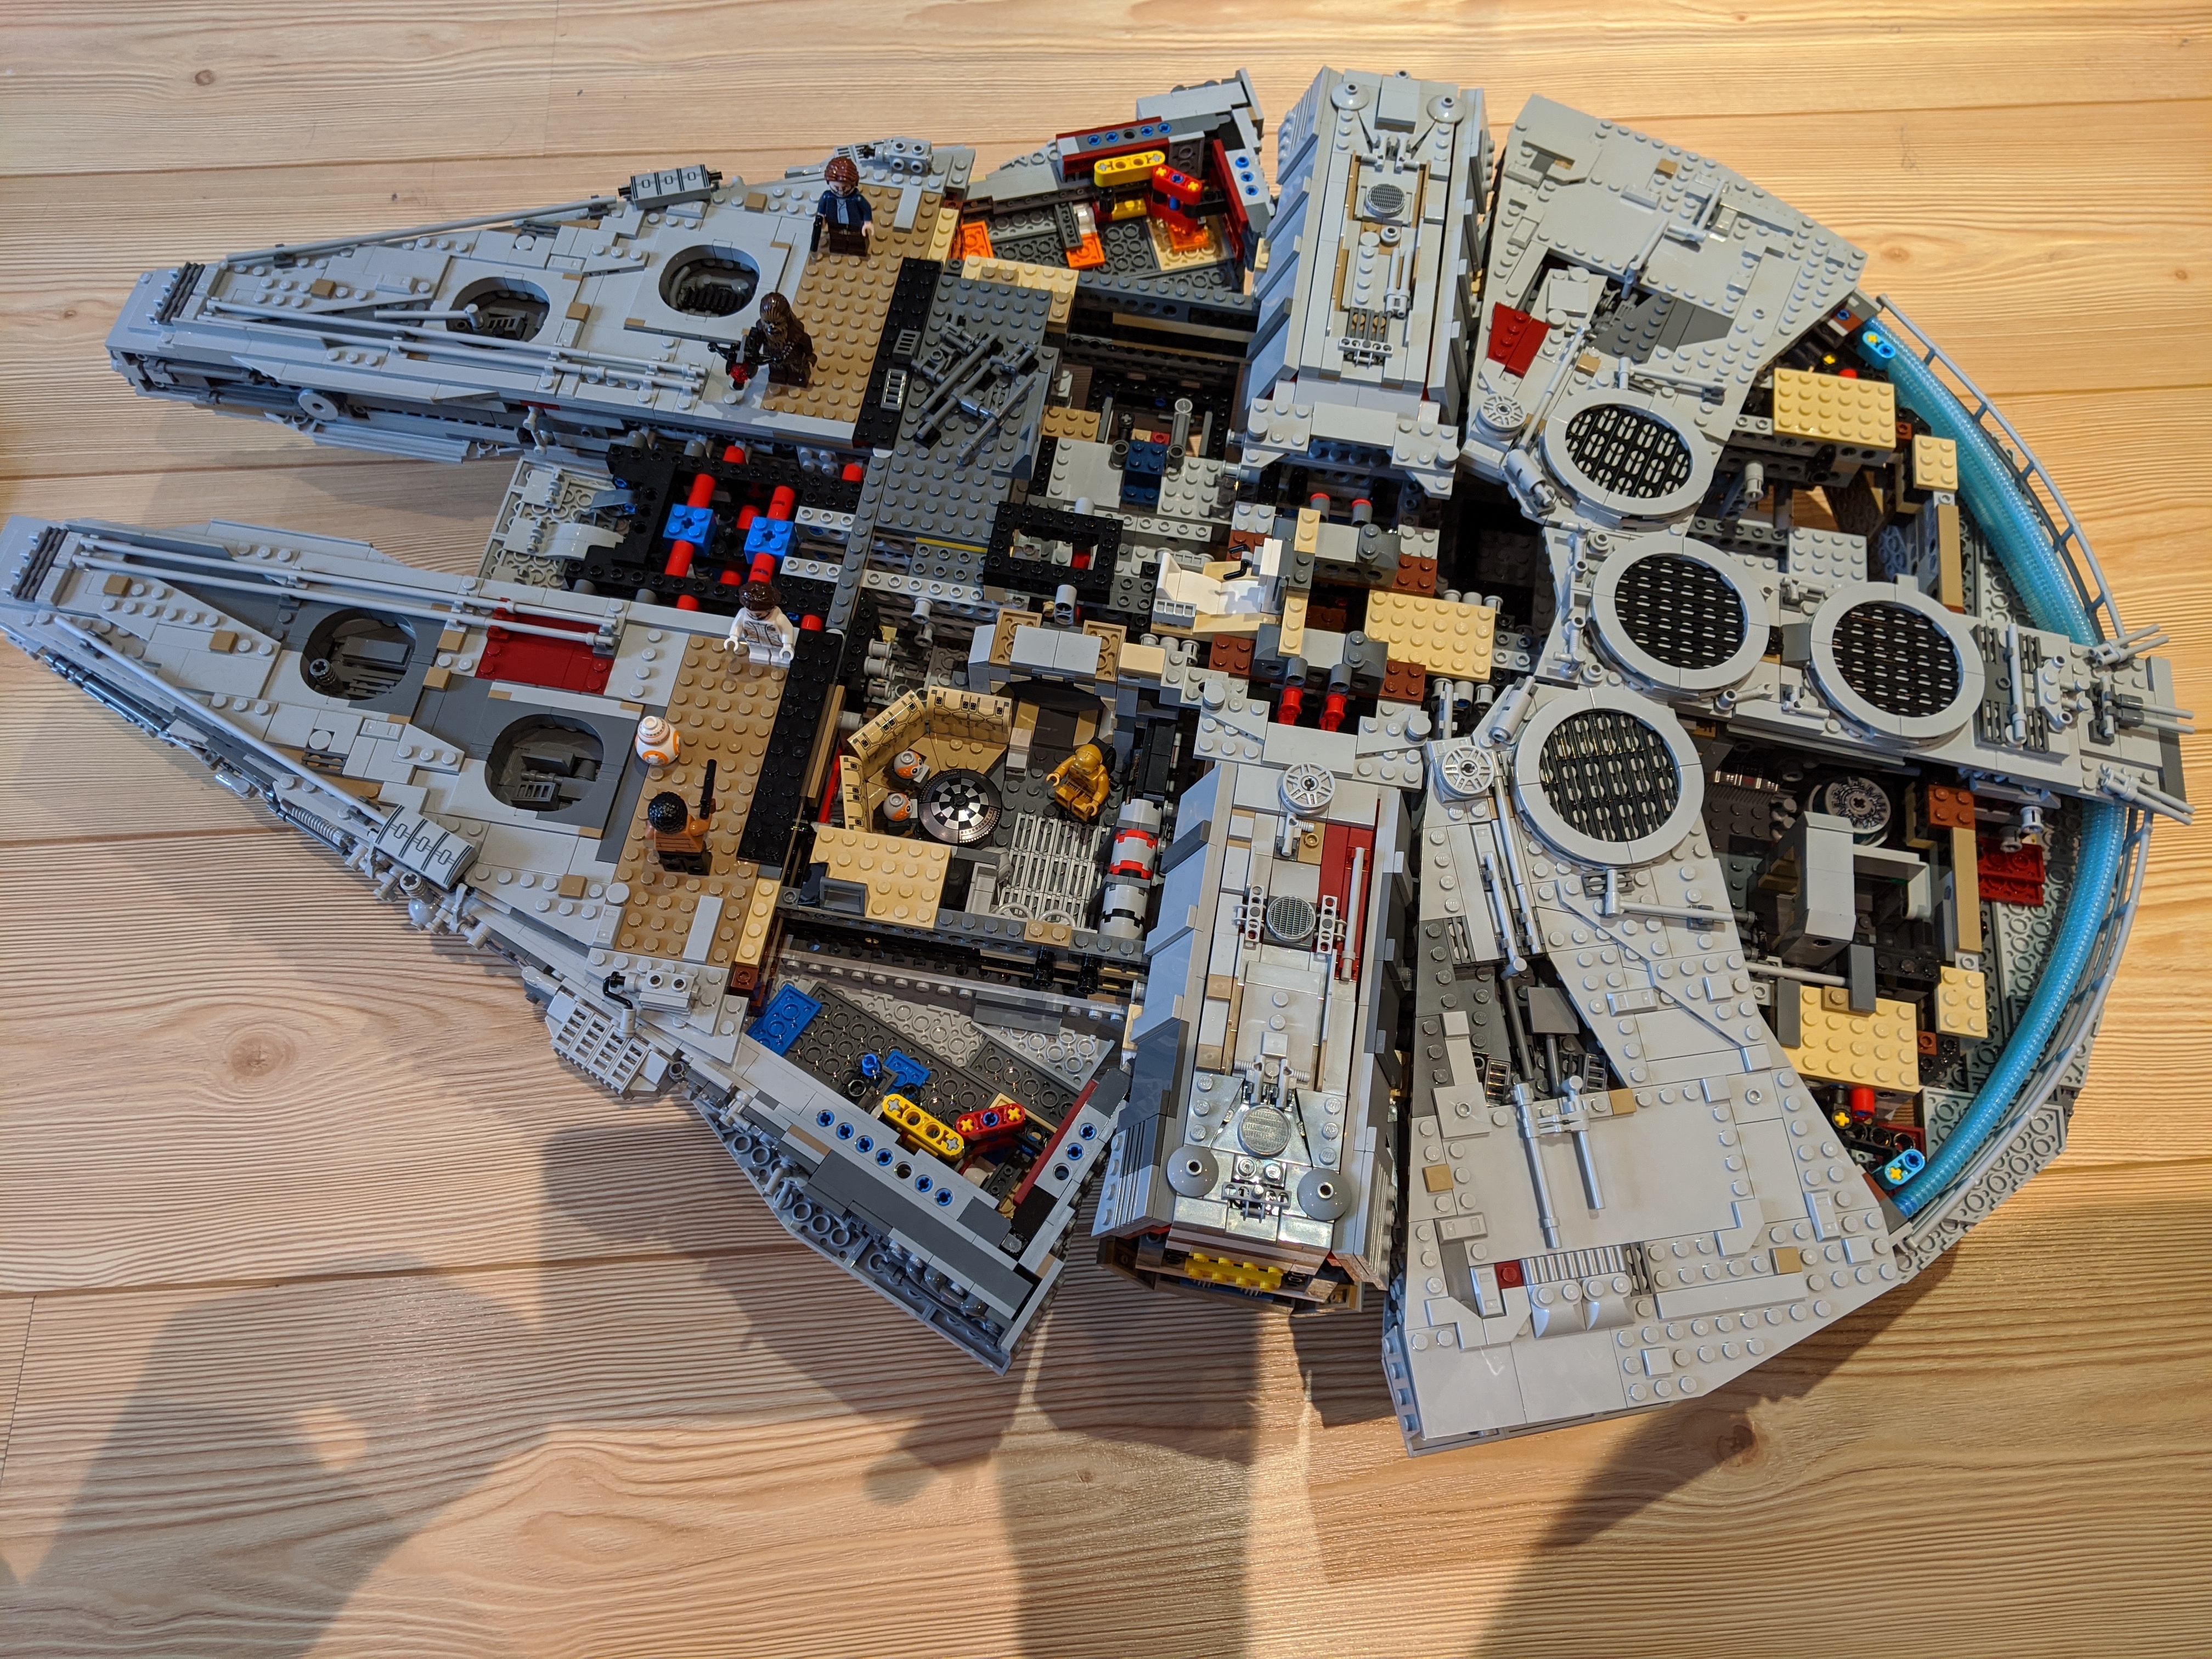
Its really hard to lift the complete model now, the weight has really piled on and the gaps in the outer shell are starting to fill up. The bottom shell is complete, the central spokes are complete, and the back end is coming together. Only five bags left, there are some obvious gaps in the build, and some less obvious spaces where it will be interesting to see how it comes together. Onward to bag 13!


There are no comments for this entry.
[Add Comment] [Subscribe to Comments]